
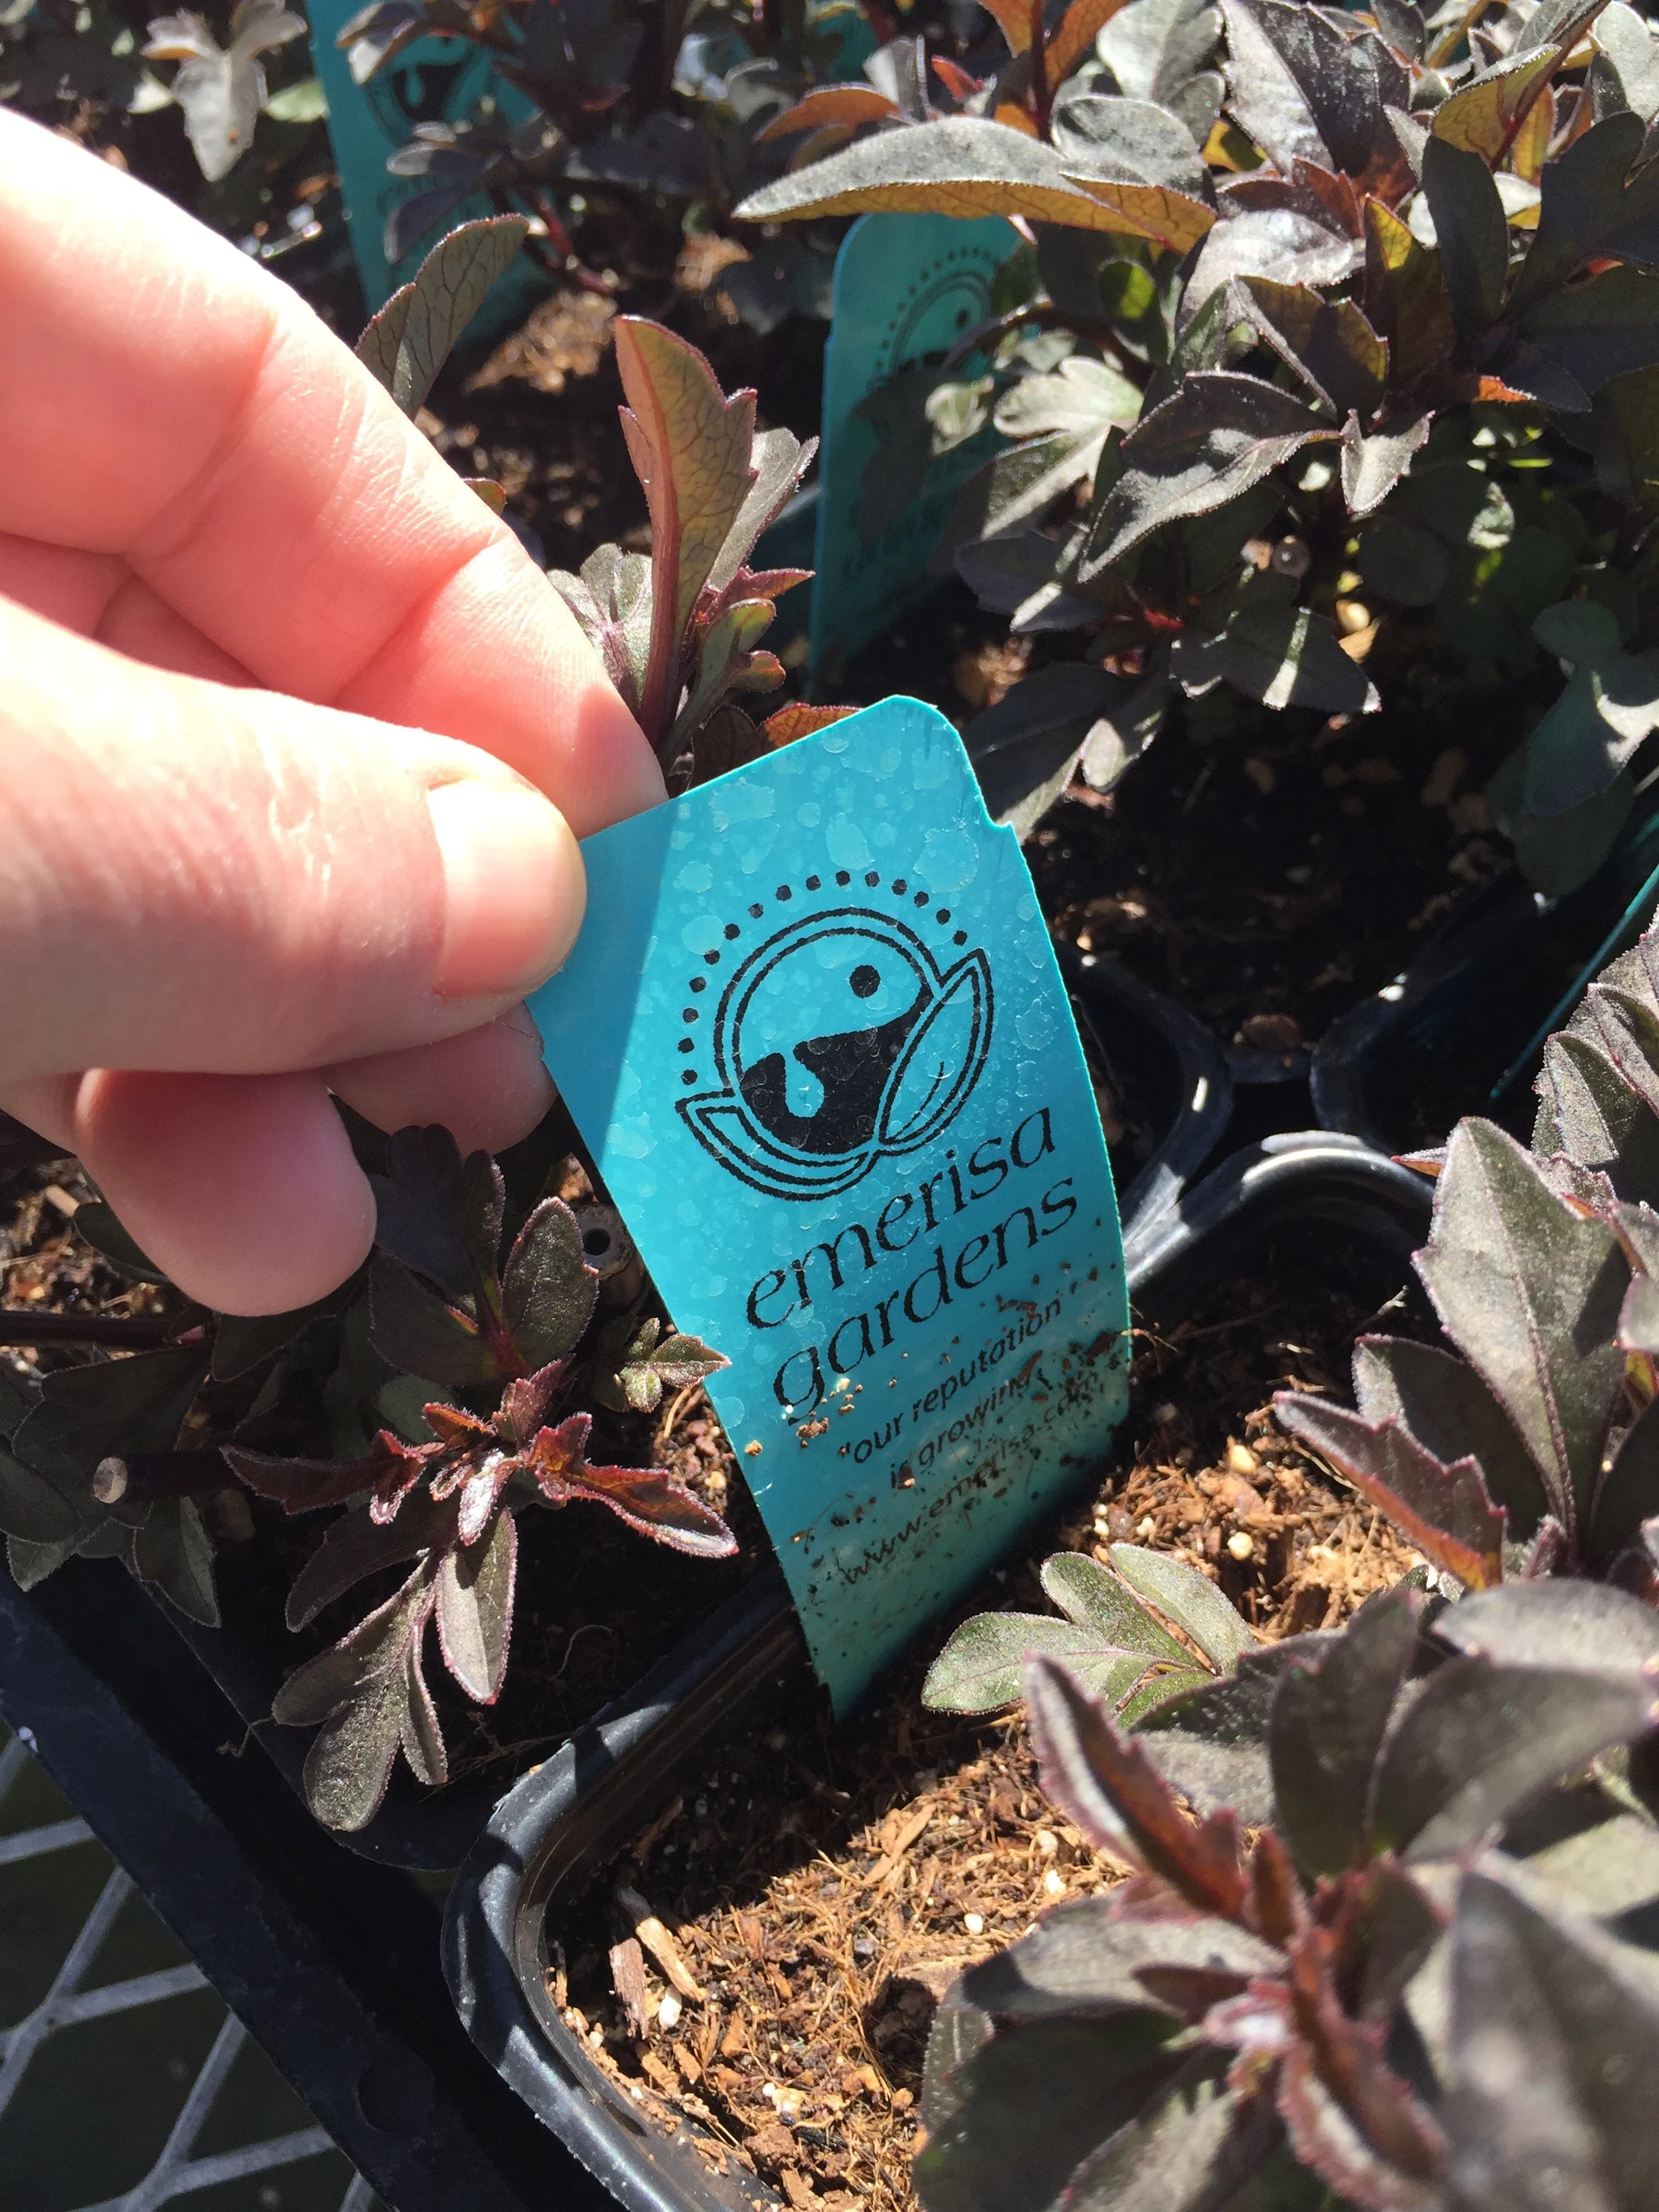
Yesterday I went on a field trip with my Nursery Management class. We drove up to Santa Rosa in Sonoma county. First, we went to visit a large production nursery called Emerisa Gardens. I have bought their plants at my local nurseries hundreds of times: perhaps you’ve seen this logo?
Emerisa has 15 acres of land in a beautiful spot in the county. It is family owned, having been started by the patriarch many years ago and now run by his children, who gave us a wonderful tour. They employ about 30 folks, both full and part time, and pride themselves on the family feel of the group.

In the first greenhouse. My teacher, Lawrence Lee, is on the right in the hat and glasses. He’s worked at many botanical gardens and large nurseries across the world, but is now a full-time teacher. Many of my classes have been with him and I love to learn from him. He knows so much about classic and production horticulture, and about plants from other countries. He seems to know everyone in the business and managed to get this tour for us with the owners.

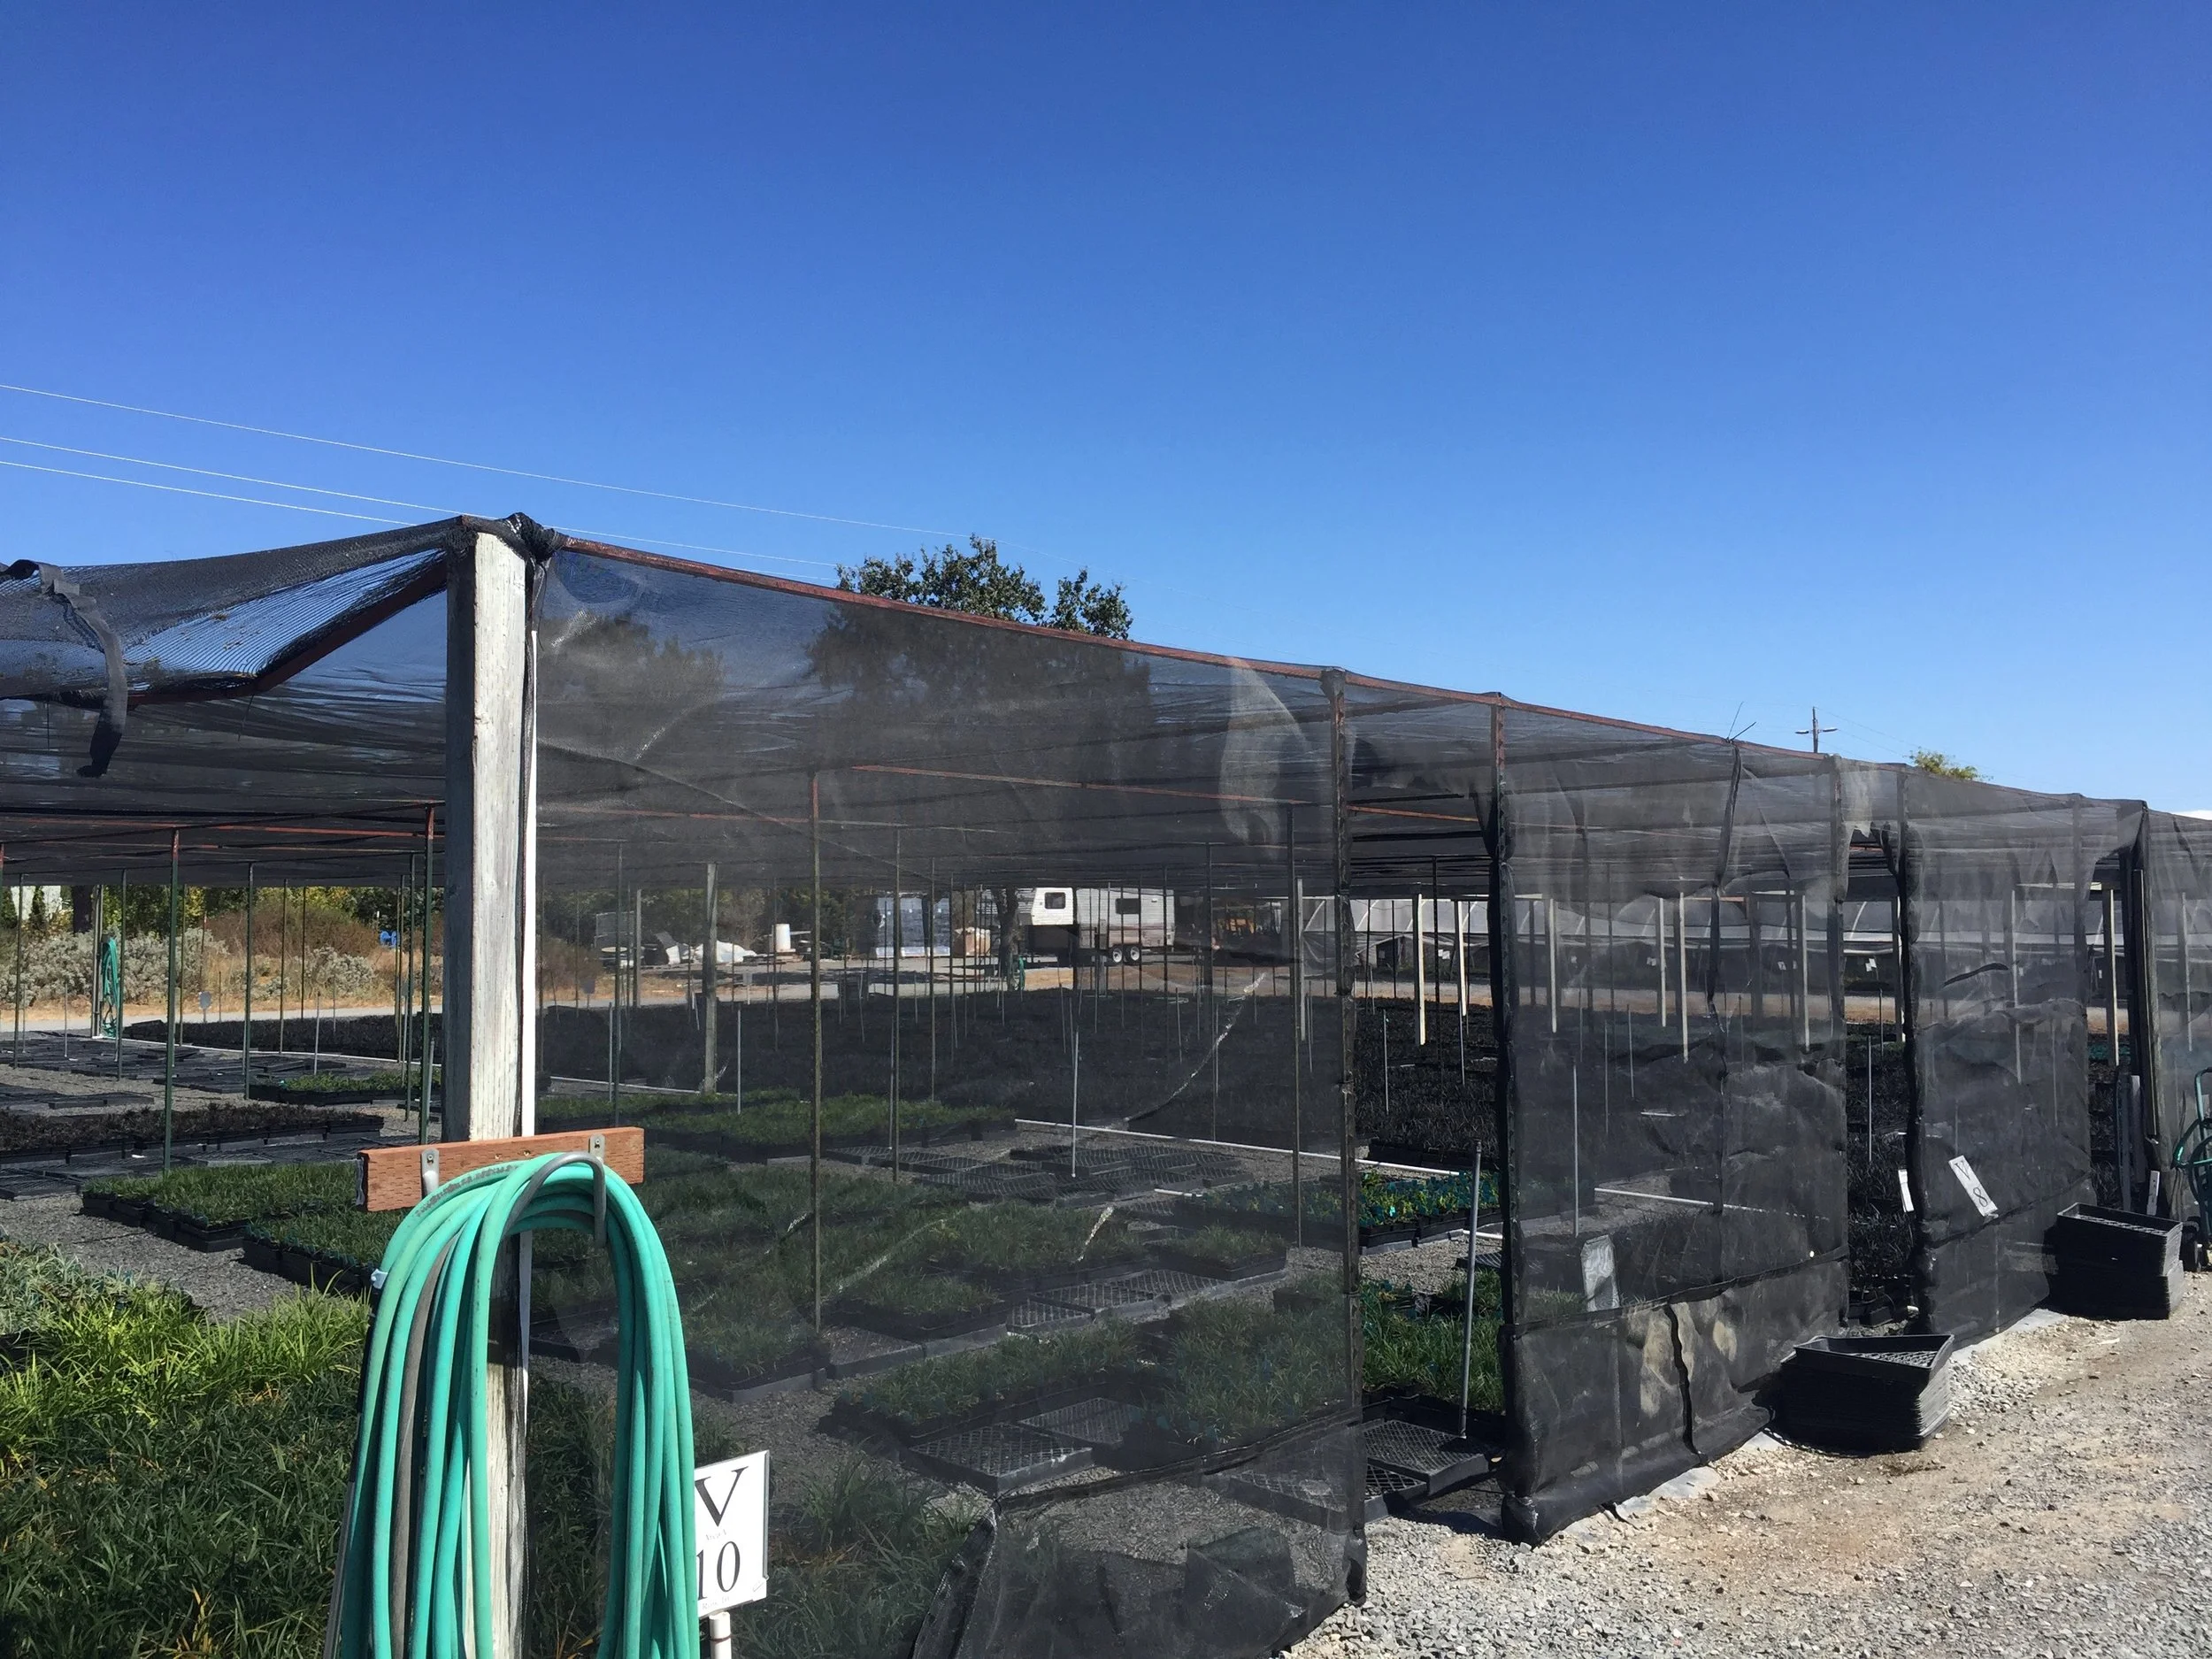
Emerisa has most of their property laid out to greenhouses (only one heated), hoop houses, shade houses, and propagation greenhouses. We talked a lot about microclimates within a property, and how best to keep certain plants in the right zone. Emerisa does a lot of hand watering instead of sprinkling things on a schedule, to make sure the right irrigation is getting to the right plants. All in all, it seemed like a very hands-on kind of operation for such a large nursery.

The owners explained to us about how hard they are working to add hedgerows to the edges of the buildings. They very much want to reduce any kind of pesticide use, organic or otherwise, by increasing the amount of beneficials in these hedgerows. They also act as a demonstration garden of sorts, and unfortunately I didn’t get a picture of the most beautiful gardens (guess I was too busy listening!) - they were incredible, and full of life.
It really struck me how much work it takes to keep thousands of plants looking good, for sale at any moment. If a smaller nursery calls up and says, “I need 100 lavender plants, stat,” Emerisa needs to be able to provide that the next day. So much is up to the whims of the customers, or what’s trendy, or what the latest gardening magazine has written about. Finding new varieties is crucial, and staying on top of the marketing side of things is very important.

In the propagation area, we learned that the owners are trying hard to move towards a model where they propagate all their own plants. At the moment, about 50% of their cuttings come from other places (one thing you learn quite quickly from any of these places is that there is always another level of growing - someone has to propagate from seed, someone propagates from cuttings, some sell directly to customers, some sell to larger nurseries like this one). It was fun to see all the experiments they had going on in this building. The amount of variety this nursery has is remarkable.

I was quite taken with all the different dahlias they had growing and ended up buying four of them. This is the ‘Mystic’ series that has become popular lately. I have one of them already and I love the dark foliage contrasted with the striking blooms. The bees also love them, because they are single blossoms.

The nursery allowed us all to buy plants on Lawrence’s account, and so I brought home 12 (natch) - the aforementioned dahlias, some Bidens, some Agastache, and some oddities that were growing in the demonstration beds that were covered with pollinators. It was such a wonderful visit and I learned so much about what it takes to own a nursery!
Next, we traveled across town to the fairgrounds and spent a few hours at the National Heirloom Expo, which is organized and run by Baker Creek Seed Company. The expo goes on for three days, and there are three stages with speakers from all over the world, speaking on things like food justice, no-till farming, livestock, and soils. There are vendors, too, with all kinds of goods ranging from fermenting supplies (our local FarmCurious was in the house) to sheep’s wool for knitting to chickens for sale to seed suppliers to tool makers. It was smaller than I expected, but I also really enjoyed it.

Contemplative paths, made of gourds

Interesting apps

plant vendors

lots of seed vendors. This one, Hudson Valley Seed Co, has artists create the art for their seed packs. They were incredibly beautiful.

Live music, mostly fiddling. Lots of food. I bought fresh limeade sweetened with agave, some organic fruity iced tea, and a coconut ice cream that was heavenly.

more dahlias

Lectures. I only got to see this one. I admire Singing Frogs Farm and wanted to hear more about it; they did not disappoint.

Poultry breeds, sheep breeds

The highlight, in my opinion: The Hall of Heirlooms, where every kind of fruit and vegetable heirloom was laid out and labeled, and could be properly admired
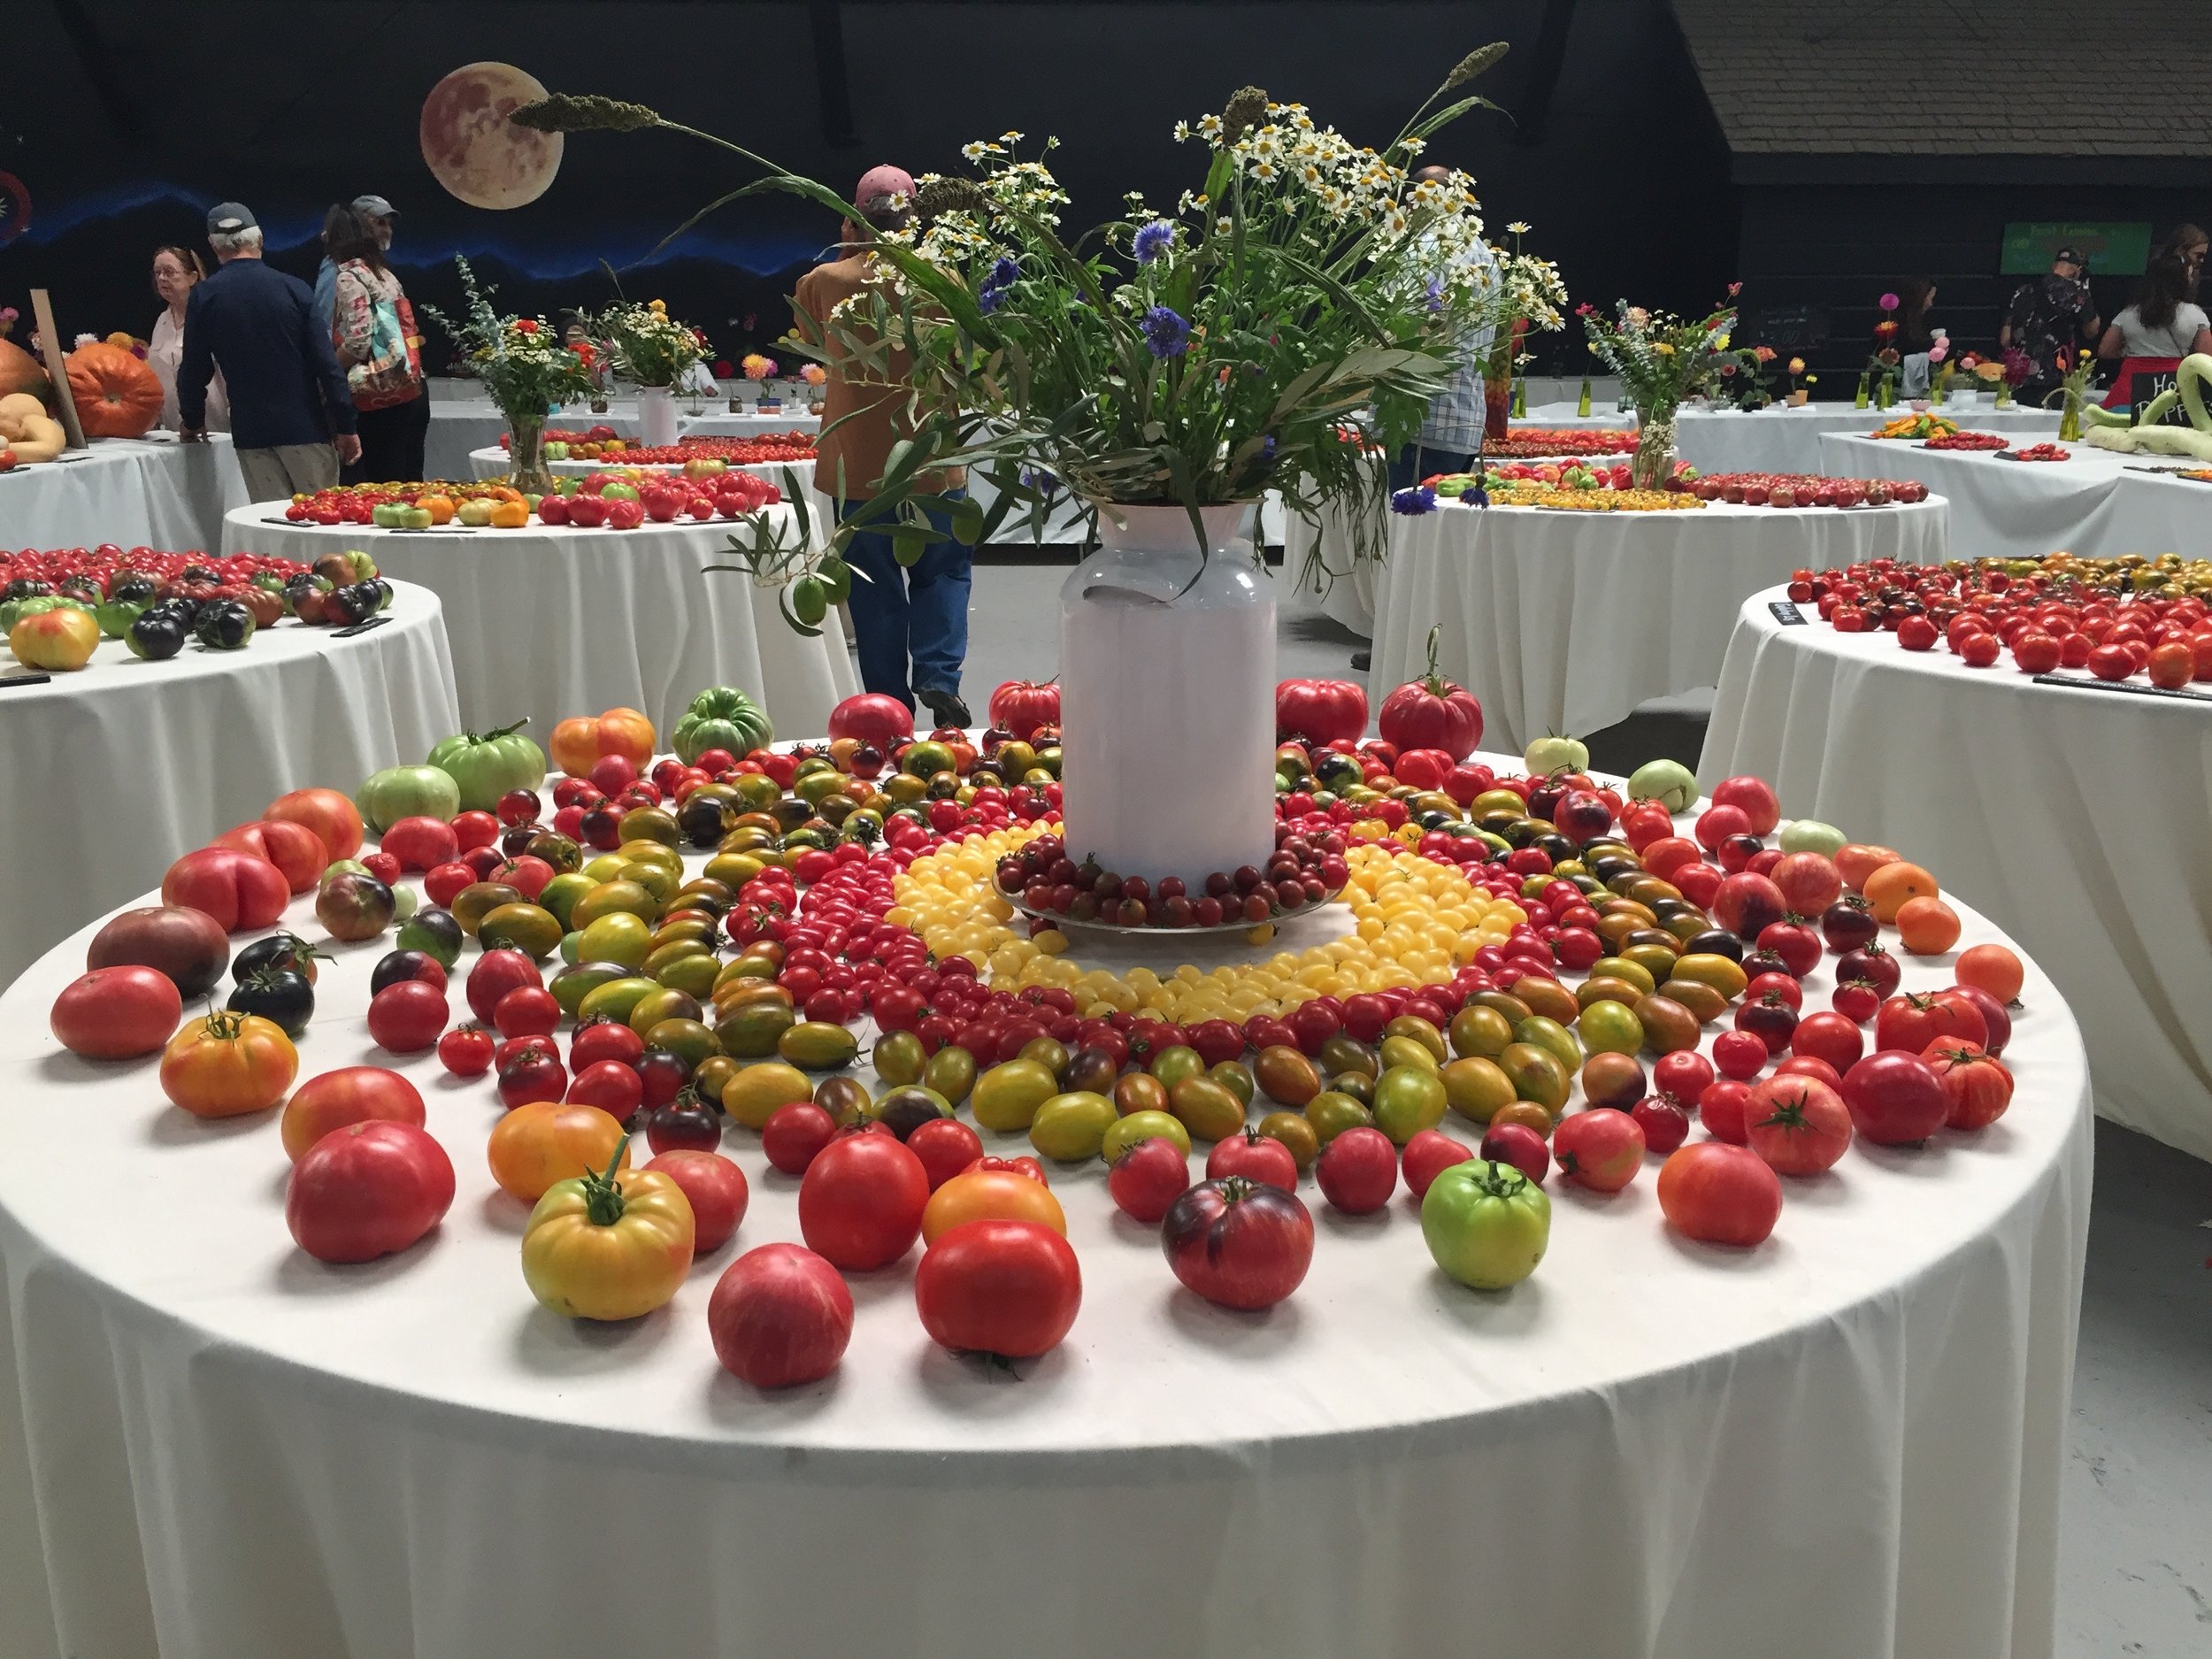
tomato art

the famous squash tower


This is Brad Gates of Wild Boar Farms. He is one of the best tomato breeders we have right now. He makes amazing varieties. I’ve grown only one of his - the Pink Berkeley Tie Dye - and I ended up buying four more kinds to try next year.

And the best thing I saw all day. I asked this kind person if I could take a picture of her shirt. I absolutely adored it.

And that says everything about Sonoma that you need to know!
However, if you can make it to next year’s expo, I’d highly recommend it. I don’t think you need to come all three days - just pick the day with the most speakers you want to hear, and come on out.


