• About
  • Blog
  • Contact
  • Favorites
  • Archive
Menu

Poppy Corners Farm

Street Address
Walnut Creek, California
Phone Number
Walnut Creek, California

Your Custom Text Here

Poppy Corners Farm

  • About
  • Blog
  • Contact
  • Favorites
  • Archive

Leveling the Hive

October 28, 2023 Elizabeth Boegel

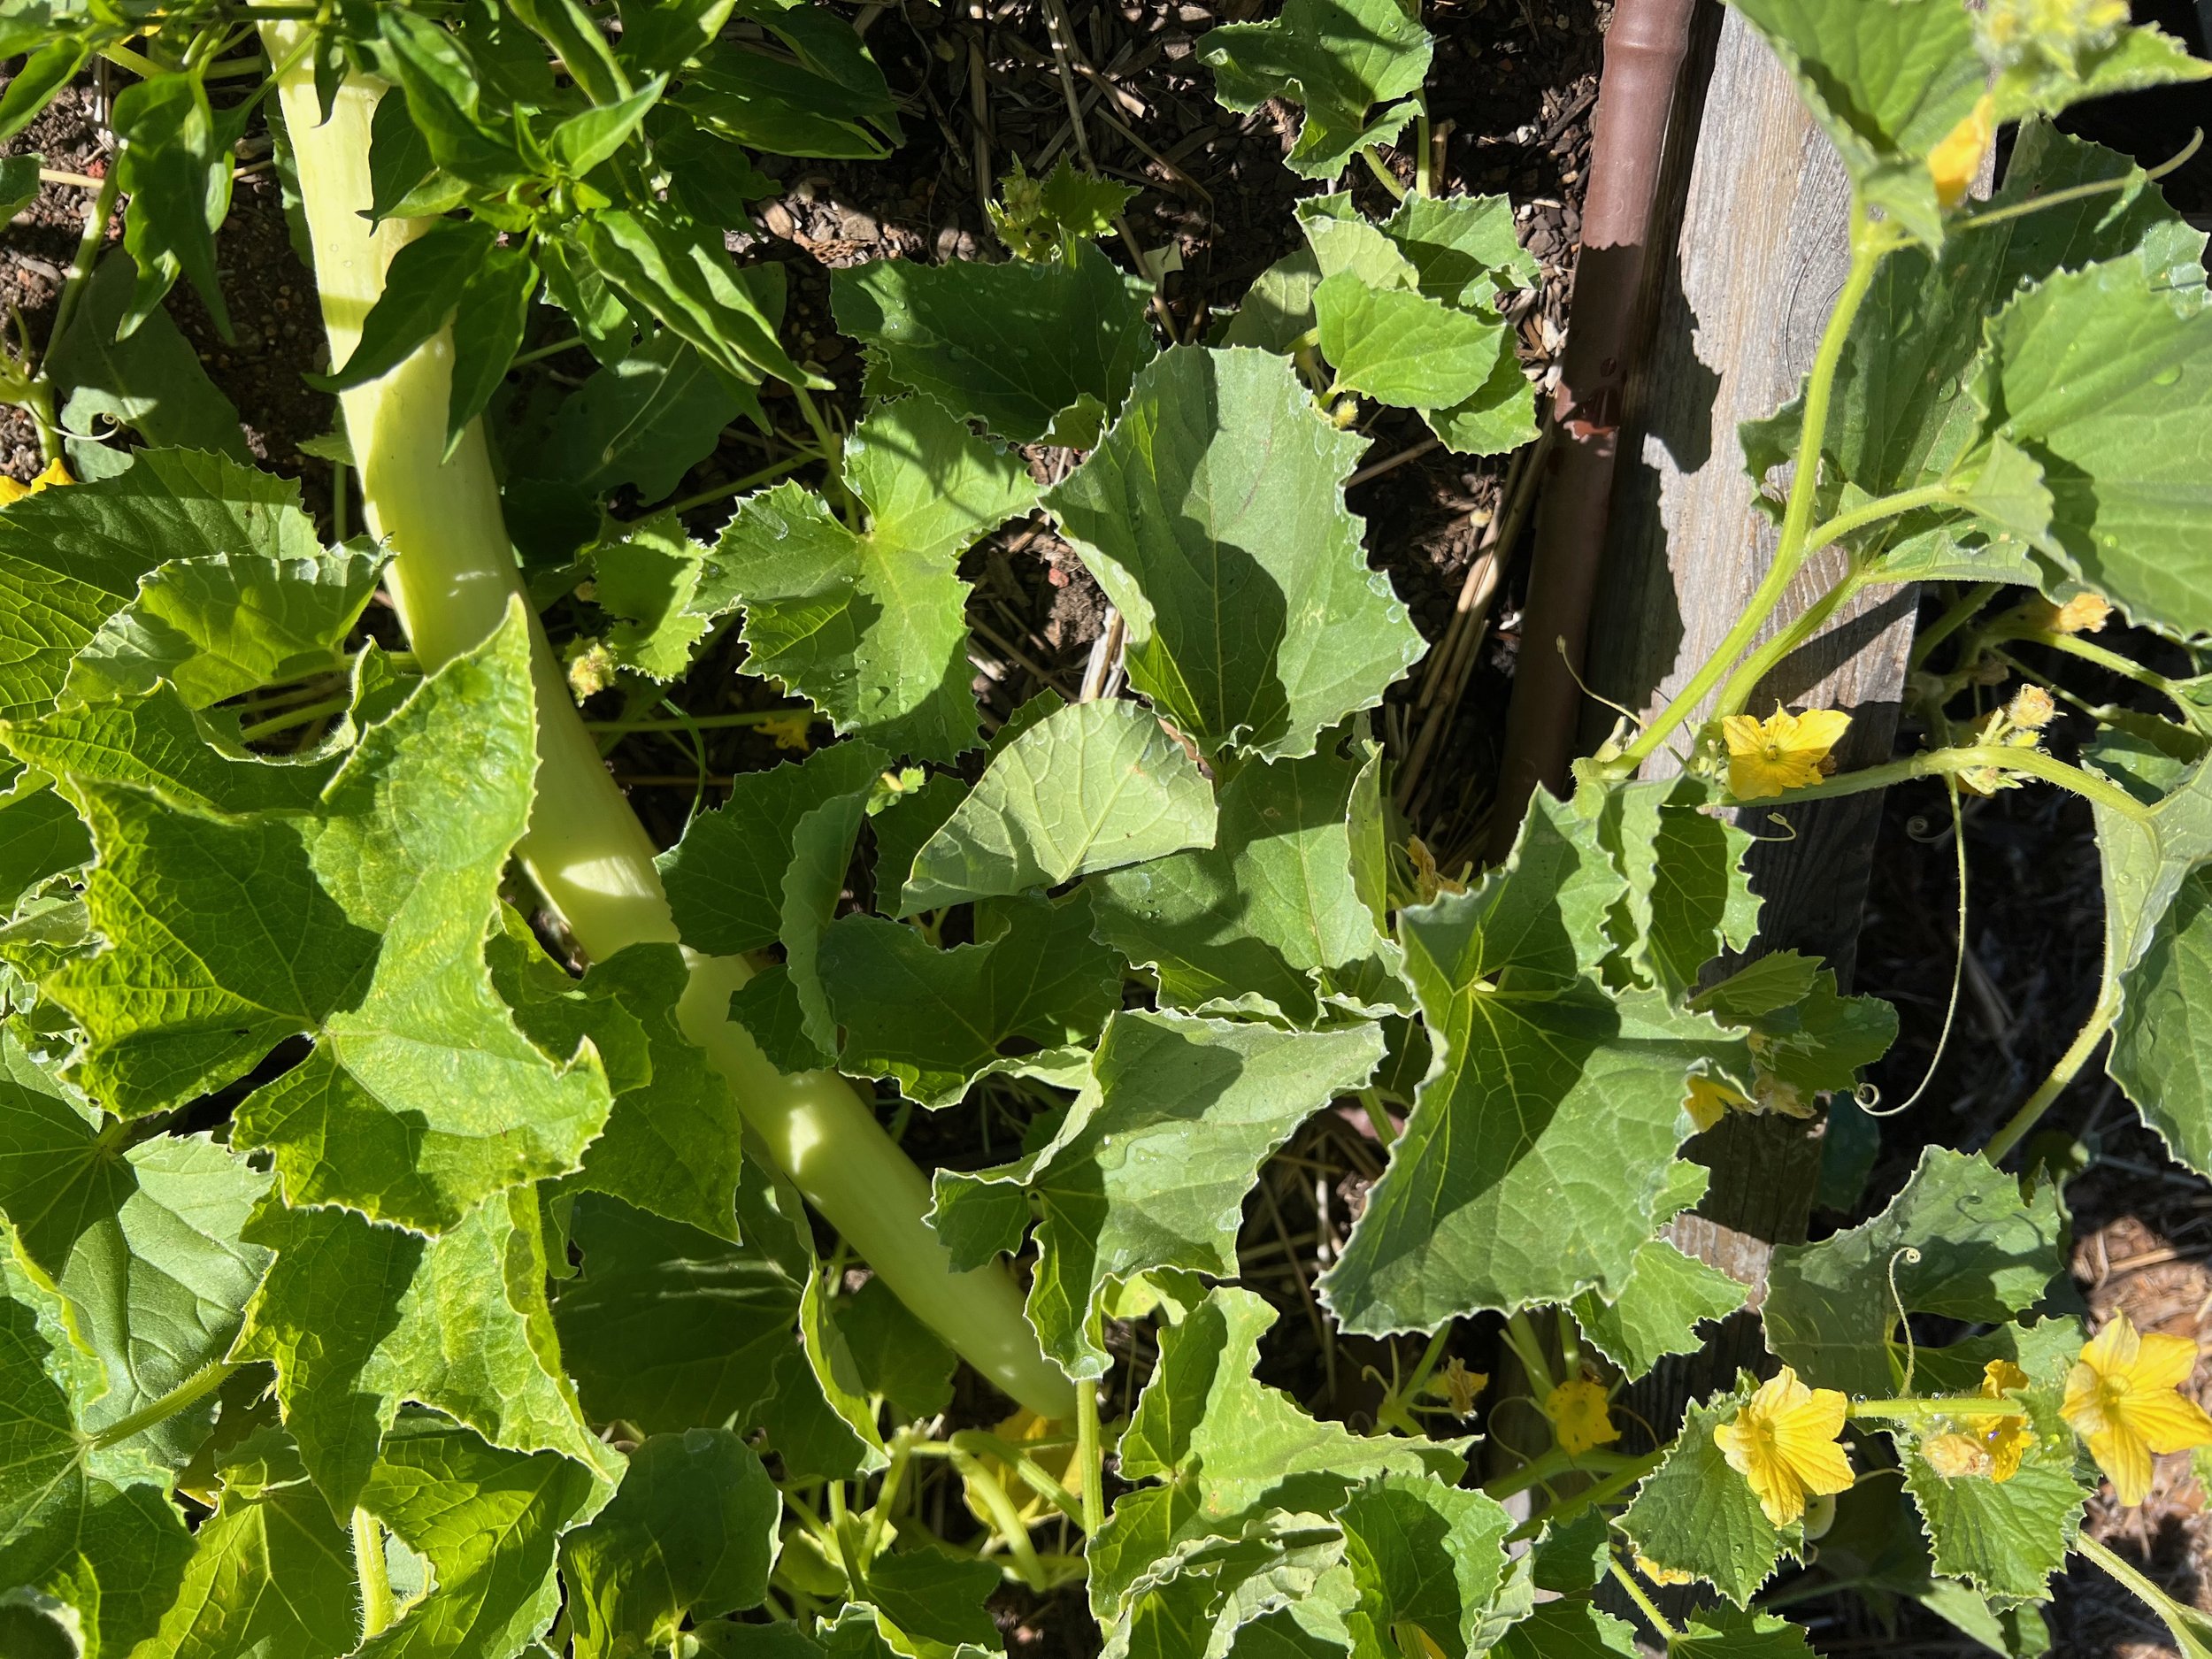
When we installed our top bar bee hive (made by my father) ten years ago, we picked a nice site in a place that got morning sun and afternoon shade, was sheltered from wind, and mostly hidden to passersby. We also leveled the site before putting the sawhorses and hive in place, resting them on concrete blocks to keep the legs up off the soil.

Over the years, the earth has settled and shifted. This is due to many factors: One, this is earthquake country; two, we have 100% clay soil which swells and shrinks during wet or dry periods (and in California, it’s either very wet or very dry, not much in between); and three, I’ve been adding mulch in that area for years, which has probably worked its way under the legs somehow. So it’s not a surprise that our hive began to list.

For a long time, we would ‘solve’ this problem by shimming up a side (you can see our first shim on the left). That was an easy ‘fix,’ and would hold for a while before needing to shim it up on the other side. Sometimes I would even put an especially large piece of bark under one of the sawhorse legs. It wasn’t an exact science, but the thought of moving the whole thing and re-doing the area was daunting.

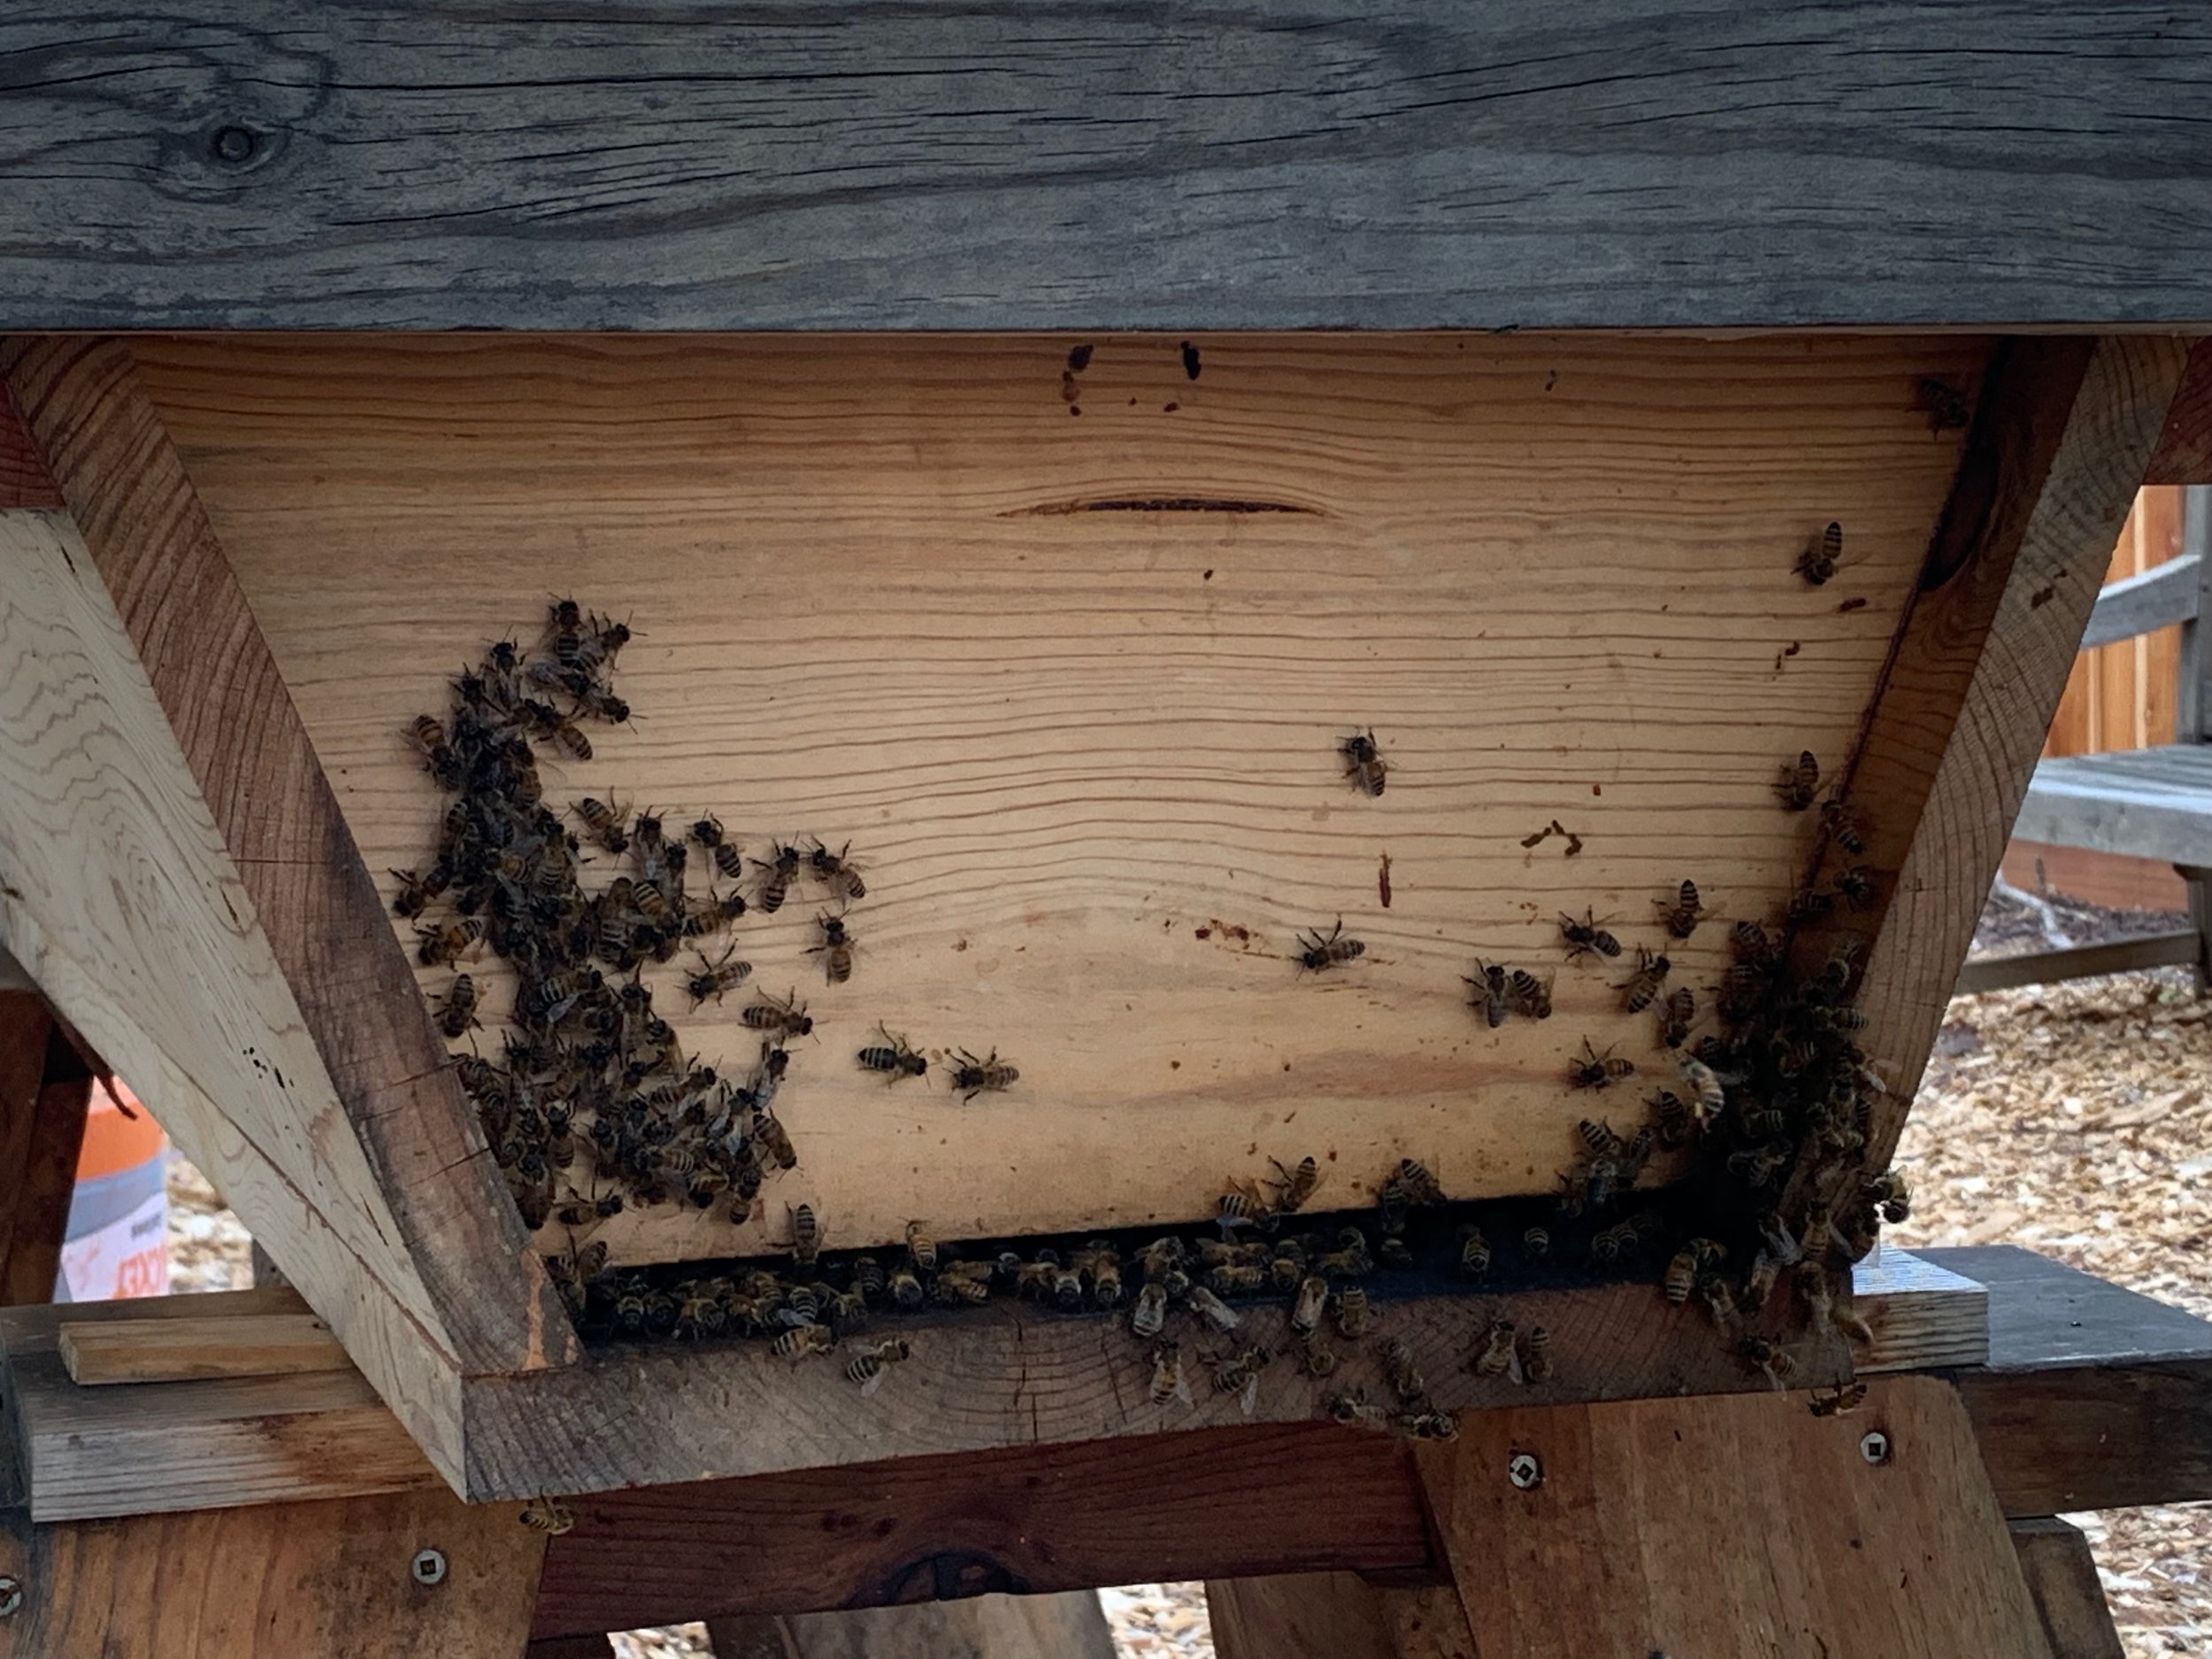
But finally, this fall, the hive started to lean in earnest. This was worrying, not least because if it started to gain some momentum, the whole thing could have just slid off the sawhorses, which would have been a colossal mess and would probably really freak out the bees (and make them very aggressive and/or want to leave), or even harm them. Was it leaning over that far? Probably not, probably I’m exaggerating. But what was definitely happening was that our bees started to beard every night, even on cool nights.

Bearding is when bees hang out at the front of the hive, on the ‘front porch’ so to speak, and make a big hanging mass of bodies which looks like a beard on the hive. This usually only happens when it’s super hot out, and the bees can’t keep the hive at the 93 degrees they prefer. They remove some heat from the hive by removing bodies. Smart, right? But bees can also beard when they run out of room, or if there is poor ventilation in the hive.

See the picture at the top of this post? That’s a beautiful comb, from our top bar hive. Since top bars don’t use frames, like Langstroth hives, the bees build on a bar which rests on the top (hence the name). What this allows is for the bees to build the way they like. And bees like to build their comb in catenary curves. When the hive is level, the comb perfectly fits the shape of the hive box, allowing for something called ‘bee space,’ which means there’s just enough room at the edges and bottom for the bees to move freely around the colony.

Gravity plays a big role in how bees build comb; they naturally build in line with the pull of gravity. When a hive is level, they create an ideal comb. When a hive isn’t level, the bees are confused. They build asymmetrically or in a funky shape. The comb can encroach on other combs, and create a mess. It can also lean with the hive, and honey is heavy, so the comb can slide off the top bar and create an enormous sticky pile of wax, honey, and bees at the bottom of the hive.

My working theory, while viewing the leaning hive, and the constant bearding, and after hearing how Tom, when working in the hive, found lots of comb stuck to the sides and bottom (so the bees weren’t building comb correctly), was that the unevenness of the hive was past the point where a shim would help. We just needed to redo the entire area. This was a bummer, because it meant we had to move the hive.

Just like there’s an ideal time to work inside a hive (sunny warm afternoons, when a good portion of the bees are out foraging), there’s an ideal time to move a hive, and that time is never. But, second best is when it’s dark and the bees are tucked in for the night. So, since I’m not allowed to work anywhere near the hive due to my allergies, we recruited my dad to help.

Mom and Dad came over for dinner, and once it was dark, Tom and Dad went out to the hive and discussed the operation. Tom brought out our other sawhorses and set them nearby. They both made sure to cover arms and legs securely to avoid stings. Mom went out with a flashlight to help light the scene. And then there was nothing for it but to move it, that heavy hive, over to the side several feet. Job done! And no one stung, and no fuss from the bees at all.

I checked on them periodically the next day, and they were very confused. But by the second day, they had a new pattern of exiting/entering all figured out.

Then, the following weekend, the real work began. Tom started by removing eight inches of mulch and leaves until he found bare ground. Then he bought 240 pounds of construction-grade sand and wheelbarrowed it over to the space. Wet, level, wet again, level again, rinse, repeat. Then he bought bigger concrete footings and set them in. Level, pound, level again, pound again, rinse, repeat. Finally the sawhorses went back on the blocks. And then, my dad had to be pressed into service for the second time (will work for cookies!) and helped move the hive back in place in the dead of night. And voila! A newly leveled hive.

The bees had absolutely no confusion the day after moving back, which was interesting. They must have good memories. Or deep instincts that reminded them that they oriented to this position originally.

So, that oughta do us for another ten years. Unless the big one comes, and then we’ll have other things to worry about anyway.

Tags bees, beekeeping, projects
Comment

Foliar Feeding - Does it Work?

October 25, 2023 Elizabeth Boegel

In the past couple of weeks, I have toured several different farms and gardens where the caretaker sung the praises of foliar feeding. “The plants absorb the nutrients so much faster and growth just explodes!” said one farmer enthusiastically. Every time I hear a comment or recommendation regarding foliar feeding, my inner bullshit alarm goes off. I just don’t believe it actually works. But is my hunch true, or am I just stuck in old thinking?

Years ago, I was enamored with the idea of making compost tea and then spraying it as a foliar feed on my veg and fruits. I was sure it would improve the health of my plants, deter pests, and increase yields. Making compost tea is a lot of work; it requires a bubbler in order to oxygenate the mixture as it’s steeping, keeping the organic matter in a mesh bag so it doesn’t clog the bubbler, then decanting the mixture into a sprayer, etc etc etc. And then the spraying itself, messy and time-consuming. All of this has associated costs, too - you need to buy a big sprayer, a bubbler and tubing, several containers to hold everything, and mesh bags or cheesecloth. This is all after the regular work of making compost, which is noble and important but not exactly a hands-off project. After all this fuss, I really didn’t notice much of a difference in my plants when I performed foliar feeding.

Not long after, I took a Plant Nutrition class as part of my ‘nursery management’ coursework at Merritt. Several students were convinced that foliar feeding worked better for plant nutrition than any other method. My instructor was dubious. She explained that leaves are not designed to take in nutrients. There are nearly microscopic holes on the bottoms of leaves, called ‘stomata,’ which evolved to provide gas exchange - these holes allow for oxygen and carbon dioxide to move between the plant and air as part of the process of photosynthesis. They can expel water, but actually repel water that’s trying to come in, using a waxy coating for that purpose.

More recent research has revealed the existence of micro-pores on the surface of leaves, and they are lined with negative charges which attract positively charged cations (things like calcium, magnesium, and potassium). This research has shown that nutrients can enter these pores as ions in water, but sprayed leaves dry very quickly and limit much absorption, and only about 15% of the nutrients applied this way are absorbed.

And as my professor then told us, even if leaves do take in nutrients in this way, the plant is really not designed to move nutrients other than sugars from the leaves to the roots, or to any other part of the plant. The whole system is designed to draw nutrients from the soil solution (a pool of available water at the rhizosphere that contains nutrients) up through the roots and into the xylem, which is a kind of fluid river that moves water-soluble nutrients from the roots to the rest of the plant. There’s a downward river, too - the phloem - but it’s carrying sugars made in the photosynthetic process down from the leaves to the root zone. That’s what it’s designed to do, not carry nutrients from the stomata down to the roots. So even if nutrients are entering the leaves, they are stuck in the leaves. They are immobile due to that stronger positive charge.

Let’s take calcium for instance. A gardener recently told my class that she sprayed her tomatoes using a foliar feed of liquid calcium to prevent blossom end rot. But calcium will not move from the leaves to the fruit. It can only move from the roots to the fruit. Tomatoes also do not absorb calcium through the skin. So this is arguably not helping the plant avoid blossom end rot. (And if you’re a long-time reader of this blog, you already know that blossom end rot is not really a calcium issue.)

Remember my plant nutrition class? My professor posited that what was really happening in foliar feeding was that the nutrients were dripping off the plant and down into the soil, thereby entering the soil solution. But she was not married to that theory and was game to experiment. So, in lab, we planted a bunch of leafy vegetables in 4” pots. Then we covered the whole surface of the soil with plastic wrap. Then we turned the plant on its side and sprayed the leaves with a foliar feed (I can’t remember what the actual fertilizer was, unfortunately). This way the feed dripped off the leaves onto the ground, instead of down into the pot. And the plastic wrap was there as insurance to make sure that nothing entered the soil. We let the plants drip dry before righting them, removing the wrap, and watering them with plain water before replacing the wrap. We cared for these plants over the course of the whole semester.

Care to guess the result? The plants in 4” pots with only foliar feed did very poorly indeed. They were yellowed, diseased, and wilted. We concluded that foliar feeding didn’t work, or at least it didn’t work well enough to supply enough nutrients to the plant.

But that’s not a rigorous study, so I consulted some other recent research. According to a 2016 study by the University of Wisconsin-Madison’s Agriculture Department, “for many nutrients, there is little or no published information showing a valid relationship between crop yield increase and tissue nutrient concentration that provides good reason for making widespread recommendations to apply a foliar- or soil-applied fertilizer that includes that nutrient,” and, “for many of these essential nutrients, we lack proven research that defines the exact minimum nutrient concentration below which yield is harmed and verifies that a beneficial yield response to foliar feeding occurs.” And according to a 2020 article from Ohio State University’s College of Food, Agriculture, and Environmental Services program, “results (in foliar feeding) were inconsistent and didn’t reveal a cohesive pattern of increased yield or… plant health for the sites in this study.”

I suppose it’s possible that spraying the leaves with a nice compost tea might help protect the leaves from some fungal infections, or pest predation. But as a method of actually feeding the plant, I think it’s an inferior choice. The best thing to do for any plant is to provide it with plenty of organic matter, which allows the soil biology to process all the nutrients in the organic matter and make them available in soil solution for the plant roots.

Reference: “Why I Typically Do Not Recommend Foliar Fertilization,” by Caleb P. Goossen, Ph.D, MOFGA Crop Specialist, June 2023.

Tags learning, fertilizer, plant nutrition
Comment

Mast Year

October 20, 2023 Elizabeth Boegel

We have an enormous Valley Oak (Quercus lobata) in our driveway garden. It’s in a very inconvenient place, right on the edge of the driveway, and because of that you’d think its growth would be compromised. Fully half of its root system is compacted by concrete and parked cars. This isn’t good for any tree, and definitely not for Valley Oaks, which usually grow in grasslands and oak woodlands. But this tree was planted many years ago by a squirrel and the previous owners of this house never pulled it out, so it’s grown into the space and is extremely healthy. Valley Oaks can also take some irrigation (they like wet crevices and canyons in the wild) and this one gets that, being surrounded by chosen landscaping. Every year I have my tree guy come out and look at it, and usually it just gets a trim every couple of years. This year, the tree guy was worried about its split trunk (this compromises the strength of the canopy), and so we will be installing cables to decrease the chances of a total split. But anyway, that’s not what I wanted to write about today. No, I wanted to write about the acorns.

We are having a mast year. A mast year is marked by a lot, and I mean a LOT, of acorns. All oaks mast, and in fact many plants mast, which just means they produce a lot of seed in any particular year. Sometimes ithis masting happens every year, sometimes every other year, sometimes two years in a row and then not again for 20 years, there is really no way to tell if it’s going to be a mast year. In the case of this particular Valley Oak, our last mast was three years ago, and frankly, I didn’t expect another one so soon. What makes it an especially interesting natural process is that no one really knows why masting happens.

This is how it looks every single morning - a new carpet every day.

Masting is a great mystery, but an even greater mystery is that all the trees of the species, within a very large geographical area, all mast at the same time. Thinking about that will really twist your noodle. How do they all know to do it at once? And why do they mast in the first place?

Well, there’s lots of theories, and they all make sense. One theory is that mast seeding is for predator satiation. When a population of plants produces seeds in unusual amounts, their predators will never be able to eat them all, leaving some to germinate and produce the next generation of plants. Another theory is about pollen coupling. This is a concern in the timing of flowering in pollinating species - the flowers need to sync with one another in order to cross pollinate. If all individuals in a population flower at the same time, more flowers will be pollinated, leading to increased seed production. But it’s expensive to make a lot of flowers, and plants have to have enough resources to do that. This explains why trees might mast following wet years - more water means more resources, means more flowers, means more seed. But some folks think that trees mast following drought years, as a ‘last gasp’ effort to produce offspring. Resource budgeting is another possible explanation. Plants need energy to produce seed, and they also need energy just for growing. Which do they concentrate on in any given year? In theory, if all plants in a large population are experiencing a similar amount of resources, they will either grow or flower similarly. Or maybe it’s about resource storage, and the trees are ‘saving’ resources for many years until they are ready to produce a great amount of seed. Environmental cues also result in hormonal responses in plants, so masting may have nothing to do with resources or pollination at all. Of course we also can’t leave out the possibility that the trees are ‘talking’ to each other, communicating through underground fungal networks. Other species have been shown to do this, so it’s no great leap to imagine that oaks do this too.

Whatever the reason (and maybe some things will just never be explained, and how lovely is that? that we can still be mystified by nature), what it means for me personally is lots of sweeping and shoveling into the green bin. During our last mast year, I left a lot of the acorns where they lay, and I’m still pulling out oak seedlings. One big Valley Oak is enough, thank you, so I’m collecting as many as I can this year.

Meanwhile, many times every evening, sitting on the couch watching TV, Tom and I jump when a particularly hefty acorn lands on the roof of the chicken coop, producing a loud BANG. I wonder if the chickens are sleeping at all.

Tags trees, nature
2 Comments

Food Miles: A Thought Exercise

October 10, 2023 Elizabeth Boegel

On Sunday, Tom baked apple pie to take to a family dinner. The apples came from one of our trees as well as a friend’s tree, so we had two different apple varieties. The pie was a hit, of course, and the best thing was that Tom baked TWO, so we have pie for dessert this whole week, hooray!

Last night, before pie (B.P.), we ate a dinner of pasta with yet another batch of homemade pomodoro sauce (the tomatoes just keep coming from the school garden). We were patting ourselves on the back because it felt like a real ‘farm to table’ dinner; the tomatoes, basil, garlic, and apples were all from our garden or nearby gardens. We felt sustainable and smug.

But then we dug deeper, and it became clear that we really had no business being smug. Let’s go through all of the ingredients, one by one, and see how our food miles stack up for this meal of pasta pomodoro and apple pie with vanilla ice cream. You may think I’ve been overly generous with the ‘grades,’ or overly harsh. Comments will be read with interest.

  • All produce (tomatoes, basil, garlic, apples): From our property or from within 10 miles, all from gardens we know and love well, and that are organic and regenerative. Grade: A

  • Olive oil: We get olive oil from a local CSA called Fat Gold. If we need extra before our next shipment, we buy 100% Californian olive oil. Grade: A-

  • Pasta: DeCecco, imported from Italy through a New York company. Grade: F

  • Parmesan Cheese: made by an organic CA dairy using raw milk. Grade: A-

  • Salt: We buy Redmond salt in bulk from Utah. Grade: C

  • All-Purpose Flour: King Arthur, processed in either Vermont or Washington with wheat from the middle of the country. Good company with all the right ideas on their website (committed to Environmental Stewardship, Food Justice, Community, Small Farmers) but still, nowhere near CA, and probably conventionally grown. Grade: D

  • Butter: made by an organic CA dairy. Grade: A-

  • Crisco: I mean, do we even have to deliberate? Who cares about the miles? It’s basically motor oil. Grade: F

  • Pie Spices: Cinnamon, nutmeg, clove, allspice. Imported by Morton and Bassett of CA from all points around the globe. At least they are committed to Non-GMO. Grade: F

  • Sugar: C&H, which stands for California and Hawaiian. The sugar is processed right down the road from us in Crockett, CA. It’s made from cane rather than beets, which is a point of pride for the company, but the cane no longer comes from Hawaii; it comes from Mexico, Vietnam, Brazil, or Australia. Grade: D

  • Vanilla Ice Cream: made by an organic CA dairy with local cream, but with imported vanilla. Grade: C

So the food miles for our prideful local farm to table dinner are actually quite astronomical. This is unfortunate. We could do better; for instance, we could get our flour from a local farm which grows and grinds it themselves. We could make our own pasta from that flour. We could also support a local company called Community Grains that is committed to making flour and flour products from local, whole grain wheat. (We’ve done this in the past, I’m not sure why we stopped.) Tom likes to use half butter and half Crisco in his pie crust, and we could go to 100% butter. Instead of sugar, we could use our own honey. The only two things that I don’t think we can improve are the pie spices and the vanilla. But still, taking these steps would reduce our food miles significantly.

What if we add health in to the equation? It’s a little trickier, because different people have different ideas about what’s healthy. For us, this is a rather indulgent meal. And let’s be clear: I’m not talking about the pie. There’s no question that pie is indulgent, but for us, dessert is a non-negotiable. We feel happier when we include dessert in our lives. We believe in homemade dessert if at all possible, and luckily, our family has no shortage of excellent bakers. Many of our desserts involve fruit or nuts. We sacrifice in other ways so that we can have dessert without worry; for instance, 90% of the time, Tom and I eat only once per day, so we don’t have to concern ourselves overmuch about sweets, as long as they’re not the only thing we’re eating.

No, when I say indulgent, I mean the dinner itself. I think we can all agree that the fruits and veg are good for us, but we would normally eat a good deal more protein, from either lean meats, eggs, fish, or beans, and good deal less of the processed carbs. We tend to center our meals around protein and veg, with maybe some whole-grain thrown in. This meal was a bit of an outlier for us.

However, it did feel very summery and as we are now well into fall, it’s nice to enjoy summer meals while we can, and we ate the hell out of it.

This was an interesting thought exercise for us, and I think we learned a lot about how lax we’ve gotten on the local eating front. I could make excuses for it (we’re very busy, the kids are out of the house so we’re eating differently, we’ve started to cut corners in other ways since so much of our produce comes from either our own garden or my school garden), but all of those are just that - excuses. I am newly recommitted to spending our food dollars locally as much as possible. After all, this is one of the best ways to ‘vote’ for the kind of food systems we want - by putting our dollars into the food systems we aspire to have - which are rich in local farms, local grocers, local providers, and local businesses. We need to do better.

Tags cooking, local
2 Comments

Making Grape Juice

October 4, 2023 Elizabeth Boegel

In my school garden, we have an extremely vigorous grape vine. It is practically covering the fence from one side of the property to the other; it’s beautiful in three seasons, producing nice flowers in spring, prolific fruit and green leaves in summer, and flaming red leaves in fall. My guess is that this variety is ‘Roger’s Red,’ which is a hybrid of our native California grape. The fruit is tasty, although quite seedy.

This year, the grape grew to gigantic proportions, produced an incredible amount of fruit, and has made the wildlife around the Environmental Center very happy (we have a turkey family nibbling the fruit each day, and the human wildlife is also happy taking home bunches of fruit after class). My co-worker decided that we needed to harvest as much fruit as possible and give the vine a good pruning, which it likely hasn’t had in 30 years. So, our student gardener has taken on that project, and the other day harvested two enormous buckets of grapes.

I decided to bring the grapes home and see if I could make some decent juice from them. I didn’t have high hopes for this project because the grapes are really small, the size of blueberries (small ones, not those giant inflated ones you find in big supermarkets), and they are nearly all seed. I was sure they wouldn’t yield much juice.

I looked up how to make grape juice in my trusty Ball Blue Book, and that advised washing the grapes, then crushing them, then heating the juice on the stove. This seemed backward to me. (Not the washing part; of course that should come first.) I thought about how to crush them; I had no interest in stomping them with my feet. I decided I would take the grapes off the stems, then heat them gently in my big Dutch oven on the stovetop, adding a little bit of sugar (no need to measure because I’m not water-bath or pressure canning this juice) and waiting until it dissolved and the grapes were nice and warm. Then I would put them through my food mill to remove the skins and seeds.

Well, taking the grapes off the stems took an hour in itself, and I only did a about a quarter of the grapes in the buckets before I decided I’d had enough of that. Heating them was interesting because they immediately started to release juice. Putting them through the mill was straightforward, though it took a bit of muscle because of those large seeds. The primary problem was the MESS. Purple juice everywhere! (I was glad I thought ahead and put on some old clothes.) Purple pulp everywhere!

But the smell, oh my heavens, the smell. I haven’t had grape juice since I was a child, and I found myself wondering why. Probably because the stuff in the store is too sweet and barely juice at all. But this! This smelled like the best fruit orchard in the world, rich and deep and sweet, and the color of the juice! It’s the most gorgeous deep dark red, like a jewel.

Tom and I had a little at dinnertime, and whoa - it is really amazing. Intense, aromatic, delicious, pungent, sweet - you can taste the antioxidants and vitamins! You don’t need more than a a quarter cup - it’s super concentrated!

This quart of juice came from probably only 1-2 pounds of grapes, yielding far more juice than I expected from these small fruits. I have a lot left to process, and am trying to convince myself to make jelly. When’s the last time you had grape jelly? When’s the last time you had HOMEMADE grape jelly??? (I don’t think I ever have.) I mean, it’s got to be delicious, right?

But the clean up…. I’m not sure I can bring myself to go through this process again. The pulp and seeds were easily disposed of (I took it to the chickens, who were very interested), but I had to be very careful not to accidentally put any of those seeds down the garbage disposal (they are the size of popcorn kernels!). I ended up rinsing all my equipment outside with the garden hose before bringing it back inside to wash properly. My counters were a mess, my sink looked like something had died, and my hands were completely stained.

But this stuff is so darn tasty, I might have to just go for it. The time, effort, and mess are the trade-off for an unexpected homemade treat from a successful garden crop.

Tags fruit garden, preserving, cooking
4 Comments
← Newer Posts Older Posts →

Subscribe

Sign up to get email when new blog entries are made.

We respect your privacy. We're only going to use this for blog updates.

Thank you! Please check your email for a confirmation notice to complete the subscription process.

Powered by Squarespace