I've really been thinking about my garden and soil health. I've been doing a lot of reading and researching, and digesting loads of information.
First, why would we care about the health of our soil? It seems to me there are two reasons, the first being that we want results, and the second that we want to be good stewards of our earth. Clearly, we want our seeds to germinate, our plants to grow big and strong, to produce lots of fruit, to flower beautifully, to contain the highest amount of nutrition possible. To do that, the plants need many things from the soil. The ideal soil is fertile, with plenty of aggregation to allow air and water to penetrate and roots to go deep. It has diverse and active biological communities to help cycle nutrients and keep the soil friable. It must "sustain productivity, maintain environmental quality, and promote plant and animal health." (Doron 1994)
So how do we do that? Let's discuss four areas:
* Compost
* The practice of no till
* Bio-intensive planting
* Cover Crops/Keeping the soil covered
We'll start with compost. A little background here. You might remember that I have been a lazy composter. I really don't like getting out there with a pitchfork and turning the piles, even though I know air is necessary to break down the material. I don't like putting precious water on the piles, because we're in drought, even though I know the pile can't break down without moisture. I don't like to worry about ratios of brown and green (carbon and nitrogen), because honestly, compost will happen eventually even if you don't.
However, I do like having good compost to add to my beds twice a year, and I really don't like paying for it. Around here, compost made by soil companies is roughly $60 per cubic yard. On top of that, there's a delivery fee. When we're making new beds, and need a lot of soil, it's worth it to buy in bulk and have it delivered. But since we're done building beds, and from now on all the beds will need is amending, I just can't justify it. The carbon imprint of bringing inputs to my garden isn't worth it. So for those reasons, I decided to be a better composter.
I have three compost bins and one brush pile. My first compost bin is really a worm bin, because it's about a yard high, a yard wide, and a yard deep, and that's small - it doesn't get hot enough to break down. So I buy a pound or two of worms every couple of years, and they make quick work of that particular pile. We put all of our kitchen scraps in that bin, as it has a lid which makes it hard for the nighttime critters to get at it. Eggshells, veg peelings, coffee grounds, lint from the dryer, paper towels, paper napkins, tea bags, fruit pits, all these sorts of things go in. The worms do a great job with all of this, but the pile does tend to dry out in the summer months and I forget to water it, and it doesn't make a whole lot - maybe two cubic feet twice a year. Not enough for all the raised beds we have, not to mention all the individual plants and pollinator gardens.

Compost/Worm Bin, several years ago before plants surrounded it. Dad made this out of reclaimed redwood and it has lasted 12 years so far.
After we built the chicken coop, and before we built the raised beds in the North Garden, Tom built two pallet compost bins, anticipating lots of soiled chicken bedding (straw). These hold a lot of material, and I use them not only for chicken bedding and manure, but also for all the cuttings and leaves from the garden. Anything I cut down goes in here. Dried corn stalks, old tomato plants, broccoli that's bolted, leaves from the oak tree, grass clippings I've begged from the neighbors, etc.

These are how they looked right after we built them, before raised beds went in front. It didn't take long to fill them both up. You can find pallets for free from any hardware or feed store - just make sure they are marked with an "HT" which means heat-treated. These are safe to use.
The fourth pile is a brush pile that I started piling between the two pallet composters. This is where any large branches go when I trim trees, anything really woody or that would take a long time to break down. I figure it provides habitat for lizards and possibly snakes (which we definitely need for bugs and rodents), plus maybe even birds. Eventually it begins to break down though I don't do anything to it, but then I'll take smaller pieces and add them to the regular compost.
It took me a while to finesse the pallet system. At first I filled both to the brim. I eventually realized that when I needed to turn them, it was far easier to turn the material from a full compost bin in to an empty compost bin, rebuilding in that new place. Once I figured that out, I took out a bunch of soiled chicken straw and piled it under all the fruit trees, therefore emptying one of the bins. Now, I heap up material, let it compost a while (remembering to water it at least once a week!), then turn it in to the empty bin, therefore aerating it. I continue to add material, then after a couple more months turn it back into the previous bin. At that point it needs to sit and finish, and I can start a new pile in the other bin. By the time I'm ready to turn that new bin, the old bin will have finished compost ready to put on the garden. Each pile gets fully turned twice that way.

This pile is ready to be turned for it's final 'cooking' - still some bigger pieces, but mostly broken down

Here it is turned into the other bin, and now it will cook for a month or two and be ready for the garden

This bin is cleared out and ready for new loads of green and brown. I dug out some of the darkest, most beautiful compost at the bottom, and put it in with the garlic, only because it was the closest. See, lazy.
Then I started a new pile with cabbage leaves and soiled garden straw (which had been used to hill potatoes). I'm much more conscious now about adding both green and brown to the pile - and in fact you want much more brown than green. It can be hard to find enough brown, actually, especially this time of year when I have so much green that I'm pulling out of the winter garden. It takes some planning. One of my goals this year is to make an area of the garden for leaves, so in the fall when I have an abundance of leaves, I can save some to add to the compost later. I'm not sure where to put that pile, but I'll worry about that later, when the leaves fall again.
Compost is only one part of soil health. Next, let's talk about tilling.
For a long, long time the common practice has been to till a vegetable bed to get it ready for planting. By 'till,' I mean anything that breaks up more than the top one inch of the soil. Rototillers certainly do this, but so do shovels, when you get in there and dig deeply and turn the soil over. This was thought to be the best way to 'loosen' the soil and keep everything light and fluffy.
Well, modern thinking is that this actually destroys soil. This is true for many reasons. Soil needs both large and small pieces of dirt and other matter; it needs variety in size. A rototiller pulverizes the clumps, making every bit of dirt the same size. This will compact the soil as the season goes on, making it hard for air and water to circulate. Rototilling and deep digging can kill or damage the microbiology of the soil, too. All those little creatures - the ones we can see, like earthworms, and the ones we can't, like nematodes, do their job best when undisturbed. Fungi, the miccorrhizae in the soil, is the symbiotic relationship that forms between the plant and the soil. "The fungi colonize the root system of a host plant, providing increased water and nutrient absorption capabilities while the plant provides the fungus with carbohydrates formed from photosynthesis." (from The New York Botanical Garden International Plant Science Center) The strands of the miccorrhizae form a vast network under the surface of your dirt, and can easily be destroyed by your shovel.
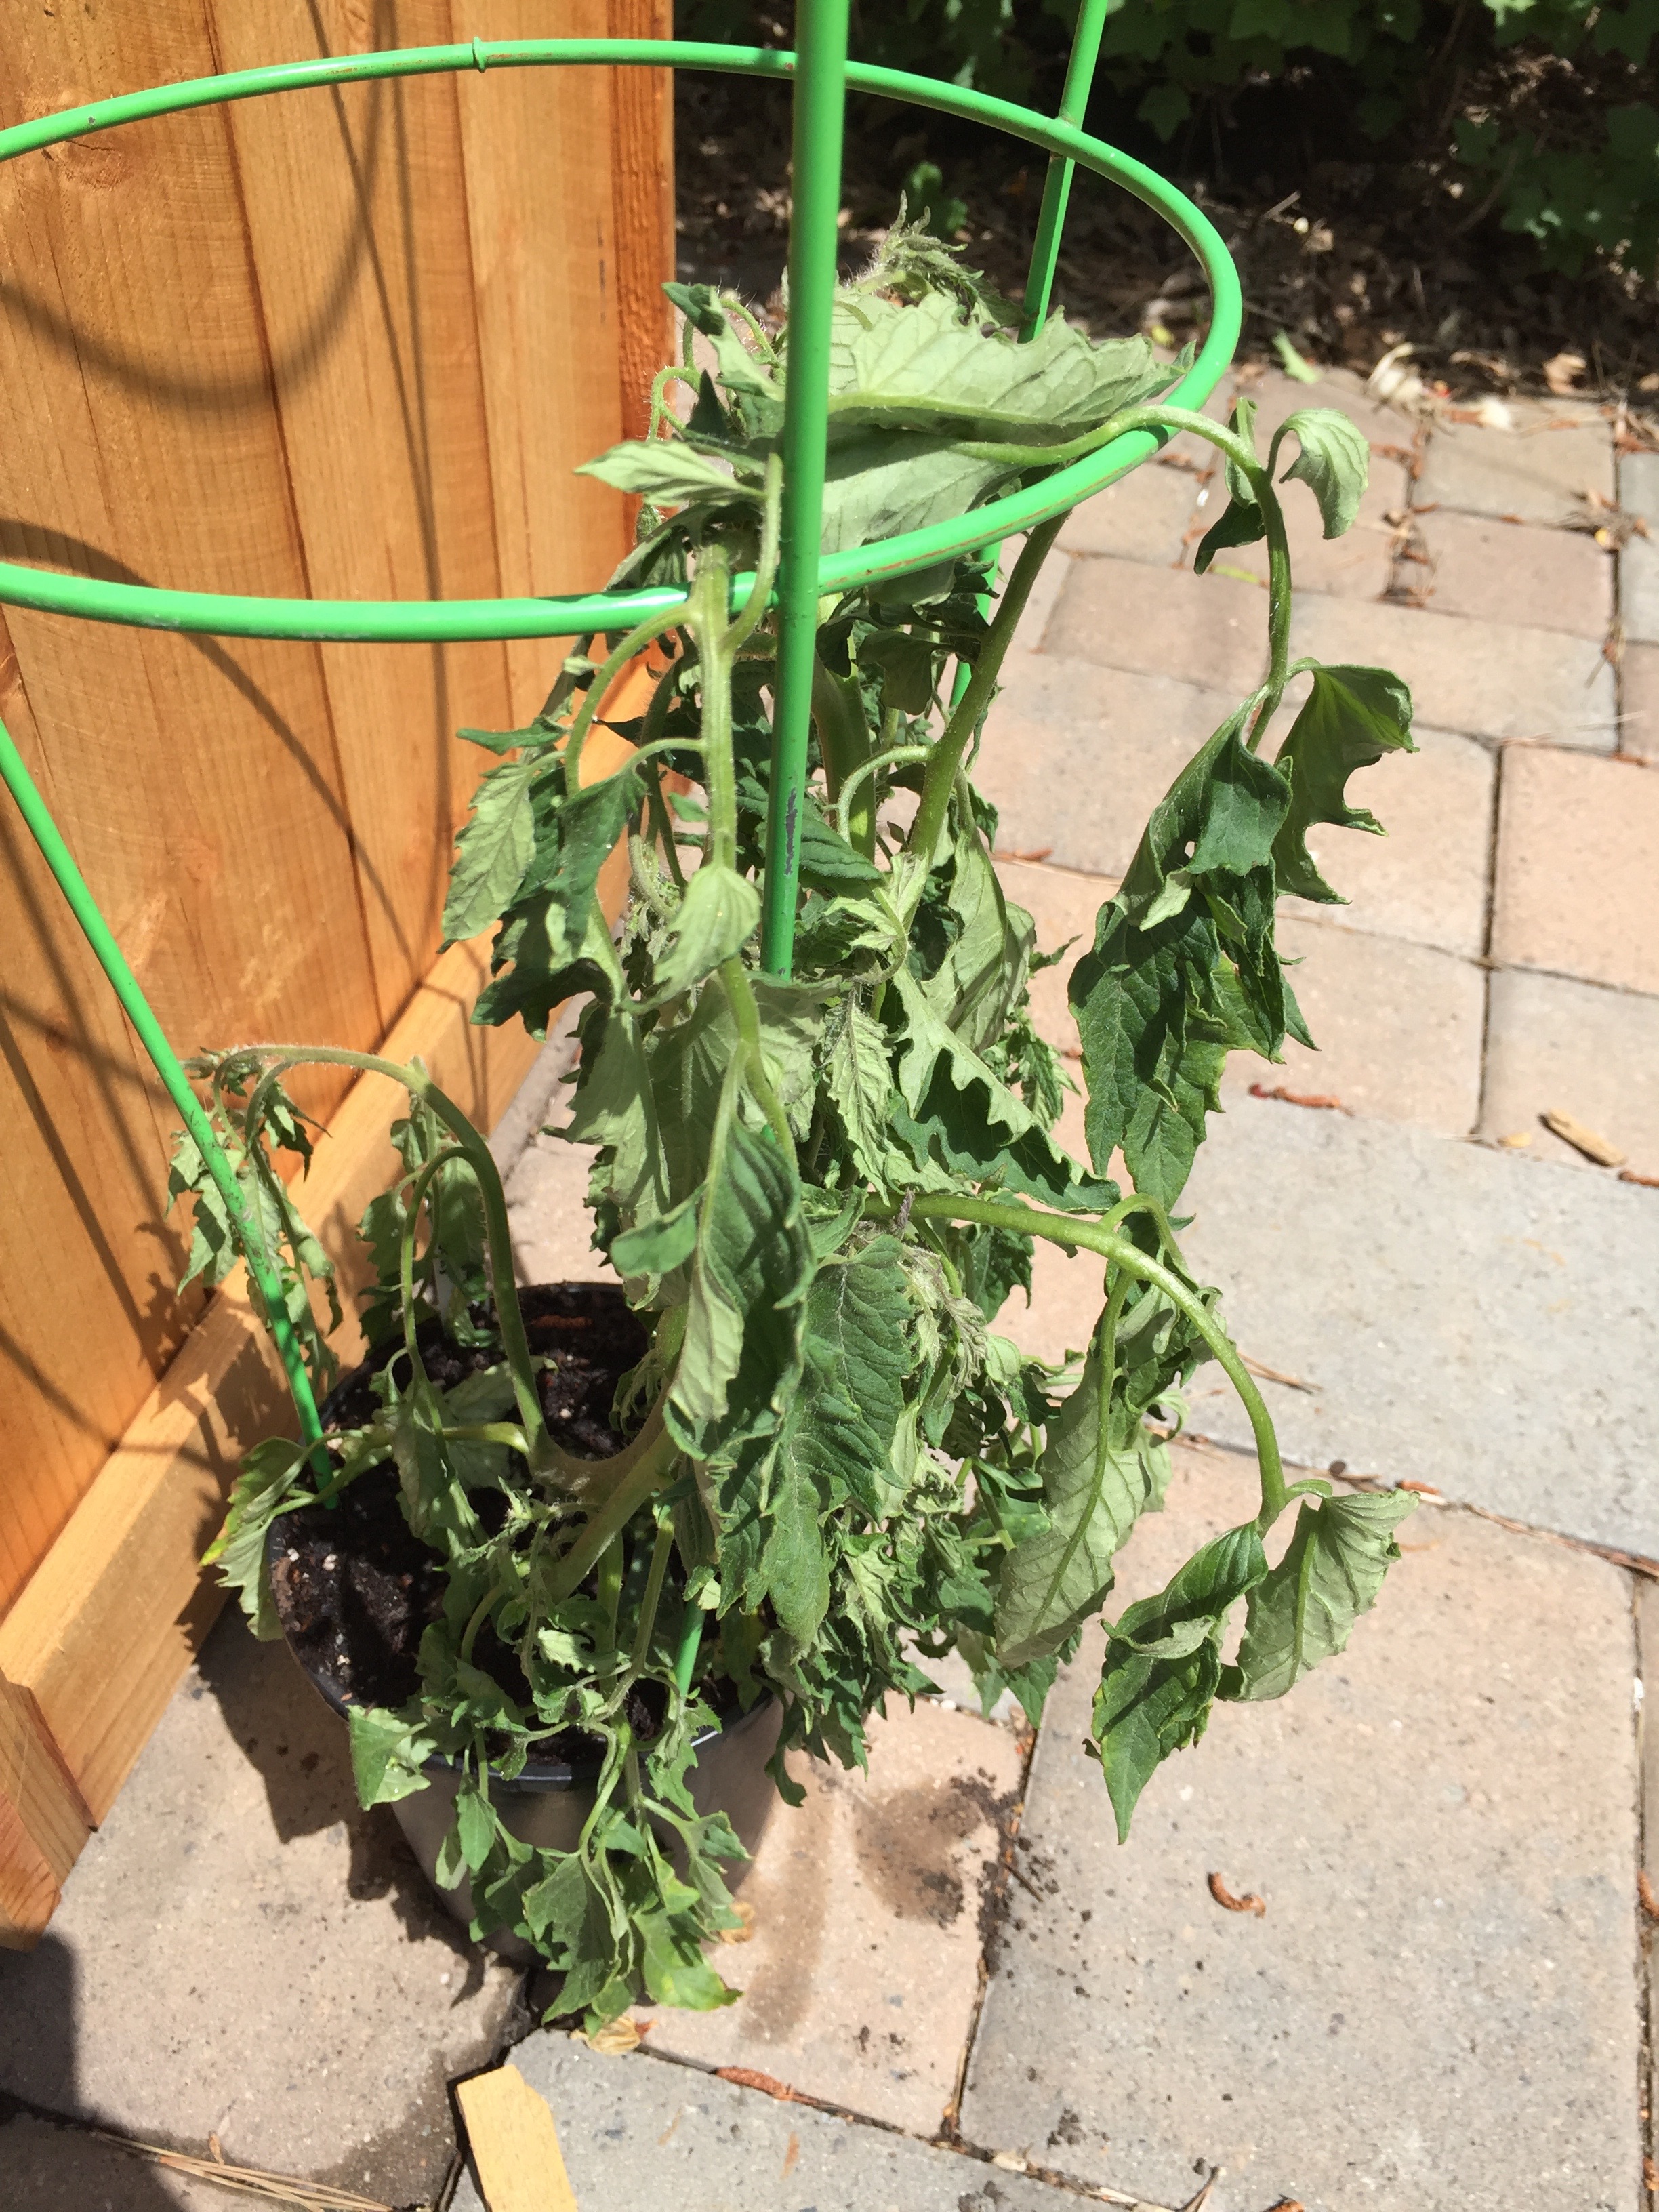
Of course, there are times you must dig, such as when you are planting tomatoes. Tomatoes need to be planted deeply, so you will often dig a hole a foot deep. This occasional disturbance is apparently ok, because you're not destroying the soil around it. It's a percentage game, in that case.
So, how I handle this issue is to do next to nothing. I don't turn over crops, I don't mix up the soil, I just leave it be. When I cut down a crop, like I am doing now with winter greens, I cut the plant at the base, leaving the roots intact in the soil. They will decompose and feed the microbiology under the soil. Then I take my hoe, and I slide it gently into the dirt, and I simply lift a bit to loosen the soil. After that, I add a bit of compost, and either very lightly rake it in, or just leave it on top like a mulch. This way, the underground community is undisturbed.
Next, let's talk about Bio-Intensive planting. This is a method used by famous gardeners Eliot Coleman and John Jeavons, in somewhat different ways, but they come to the same conclusion more or less, which is that intensive plantings (very close to each other) provide many benefits for the soil. When plants grow closely together, they form a canopy, which creates a microclimate between the canopy and the soil surface that is close to perfection. It's shady, so weeds don't germinate. It's cool, so the soil stays moist. That in turn creates humidity, which plants like.
I've done a small amount of experimenting with this method of growing vegetables, and it certainly provides you with a bigger harvest. The thing I find difficult here in perennially dry California is that I have trouble getting the proper amount of water to the plants at the roots. But as I explained in my recent tomato post, I'm going to try a different way of watering which should help that. Deeper watering should help with capillary action - the way that water spreads to the side rather than just going down, which is important when the emitters are every eight inches and the plants are every two inches, say. I'll experiment more with that this summer and let you know the results.
Fourth, let's discuss cover crops. Most organic farmers never, and I mean NEVER, leave their soil bare. Bare soil invites weeds. Rain erodes bare soil. The sun cooks the nitrogen out of bare soil. The wind blows bare soil around. Bare soil is just not efficient.
The way to get around this is to have a crop growing all the time, yet having back-to-back vegetable-producing crops can leach the nutrients out of the soil. We need a way to put those nutrients back in (and compost can't do all the heavy lifting). The way to do this is with the use of cover crops.
Now in Northern California, I will say that I struggle to find a time to actually use cover crops. This is because we have nearly year-round growing. It's hard to give a bed up to hairy vetch, say, when I could have spinach. But I have very much become committed to making sure I have some sort of CC (cover crop) on each bed at least once each year. To do that, I need to be ready to sow my CC when the vegetables are nearing the end of production. For instance, when the cucumbers start to slow down in late August/early September, I would sow some sort of CC to grow underneath those cucumber plants that will then be ready to go when I take the cucumber plants out. The CC gets a couple of weeks to do its thing, then I would cut the CC and use it as a green mulch, laying it directly on to the planting bed, into which I would plant the next crop. The CC will decompose while the new crop is growing. In much the same way, I should have had a CC to go as soon as the greens were waning this spring, so that I could get some nutrition back in to the soil for summer. Live and learn.
*A side note. I have used cover crops in a limited way. You may recall my adventures with buckwheat. And this winter I sowed fava beans at the edges of each and every raised bed.)
To that end, I have ordered some mixes to have on hand. I have discovered a seed house in Ohio that makes only CC mixes. (There is a lot of evidence that a mix is better than a single CC, but any is better than none.) The seed house is called Walnut Creek Seeds (which is a fabulous coincidence, as we live in Walnut Creek California!), and I learned about them from a video I watched about cover crops and soil health. This video was made by Living Web Farms, which is an instructional farm in North Carolina (a rabbit hole all its own - there is a lot to watch and learn here). Here's where you can view Part 1 of the video. It's really worth watching all five parts (or maybe it's six), I learned a lot from this scientist. Enjoy.
*A side note. Peas and beans do not need cover crops because they actually act as one, along with producing tasty food. Legumes fix nitrogen in your soil, taking it FROM THE AIR and converting it to nodules at their roots. Nodules of nitrogen goodness. Now that's just way cool.*
I'm looking forward to doing a better job of increasing the health of my soil. I am considering amping up production, and certainly in that case, I need to take extra good care of it. All of these things take time and a willingness to do some extra work, but the benefits should far outweigh some sore muscles and a little less sleep. I'm determined to be a good steward of our soil here at Poppy Corners, so we leave it better than we found it, and along the way, have some good eats.