• About
  • Blog
  • Contact
  • Favorites
  • Archive
Menu

Poppy Corners Farm

Street Address
Walnut Creek, California
Phone Number
Walnut Creek, California

Your Custom Text Here

Poppy Corners Farm

  • About
  • Blog
  • Contact
  • Favorites
  • Archive

Refreshing Your Container Plantings

January 7, 2021 Elizabeth Boegel
Freshly seeded pots

Freshly seeded pots

I don’t start school until the 19th, so I allotted this week and the next for specific garden projects. In retrospect, I could not have planned this better - it’s a great way to keep myself from perseverating over the news. We’ve had a slight amount of rain, which allowed the weather to warm up a bit, and being in the garden is exceedingly pleasant as long as I’m wearing a sweatshirt.

IMG_6072.jpeg

My first big job was cleaning up - removing dead plants, clearing out heavy layers of leaves, etc. This is all necessary and important, if not particularly fun. But the last two days I’ve spent refreshing some containers that really needed it.

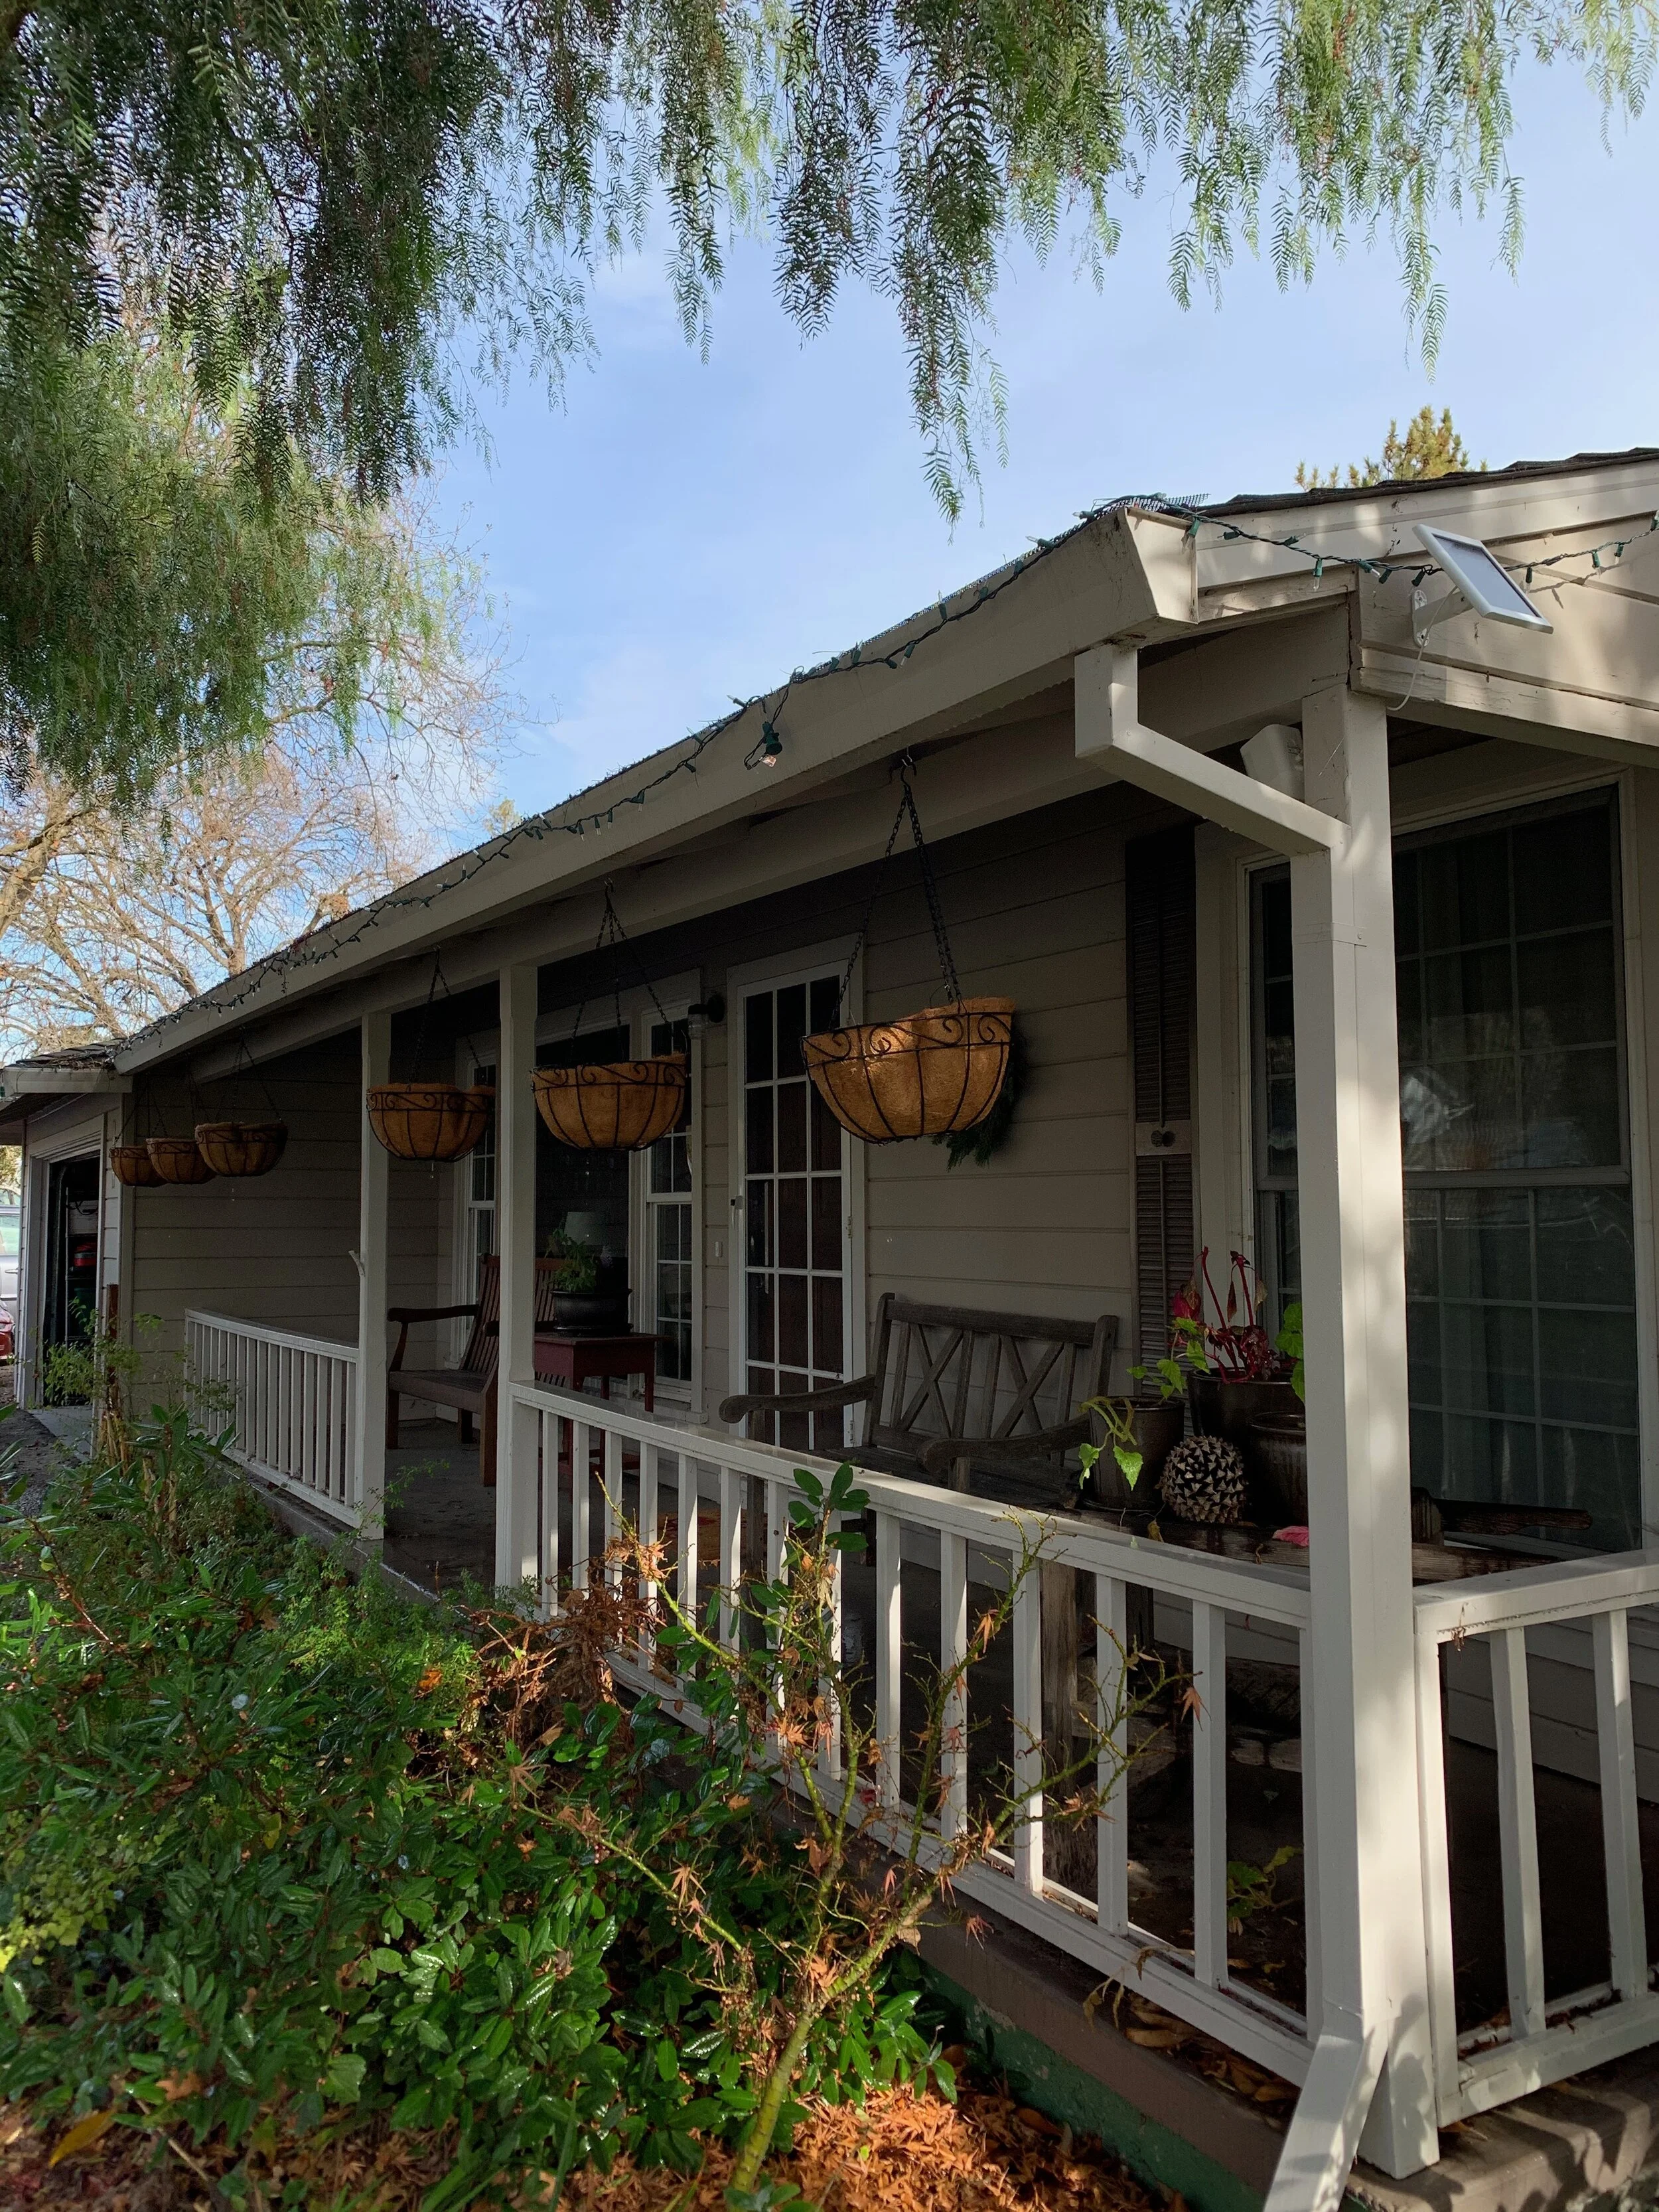
After a year (or more likely, two), hanging baskets tend to look like the one above. The birds have pulled out a bunch of the coir to use in their nests; the plant is clearly senescing and not happy. I have eight of these around the property, so I took out all the old plants, cut them back, and replanted them in the ground elsewhere. They may not make it, but if they do, hey - it’s a free plant in a place I need one! Then I bought new coir liners, filled them with fresh potting soil amended with vermiculite for drainage, and added a little bit of organic fertilizer. All of the pots received a sowing of sweet peas (this is a great time to sow them if you live in a mild climate).

IMG_6074.jpeg

It was also time to refresh our pallet wall planter. This hangs on Adam’s train shed, which is painted white and reflects a lot of heat. It’s south facing and gets full sun all day. Keeping it wet is a challenge, even though we have run a drip line up to the top of it. When we originally planted it, we didn’t make ‘shelves’ under each crosspiece; we just laid it down horizontally to pack it with dirt and plant it, and then hung the thing vertically. Can you guess what happened? Over time, as the soil compressed, it moved down to the bottom where Tom had made one shelf to keep the dirt from falling out. Packing more dirt in was impossible without it falling down, and then out the front. Many, many plants died.

IMG_6080.jpeg

Tom and I took all the old plants out (most of them beyond saving) and all of the old dirt out. Then he made me shelves for each level, so that each level acts like it’s own separate container. He made the shelves out of redwood and drilled drainage holes in them. I poured over my plant books and catalogs, trying to figure out what might work in a very dry, very hot place. Today I went shopping and then planted the pallet with Anthemis sancti-johannis “St. John’s Chamomile” and one of our native Californian Phacelias, Phacelia campanularia “Desert Canterbury Bells,” as well as some succulents that made the cut. The plants at the top are transplants, two of which are Felicia aethiopica “Tight and Tidy” and the others something with silvery foliage and yellow flowers that I can’t remember the name of. Everything looks a bit droopy because I forced them into a narrow, sideways space, and watered them half to death. But I expect they’ll perk up and start to look good in about a month or so. I will definitely keep you posted.

These mild days of winter, here in California, are a perfect time to do small, easily-accomplished projects around the yard, while we aren’t smothered with the spring ‘to-do’s.’ Remember that anything you grow in the ground can be grown in a container, with very few exceptions. All containers need a mix of good potting soil (the best you can afford) mixed with a little homemade compost if you’ve got it, and either grit or vermiculite for drainage. All containers need to be fed regularly, especially in late winter, with the days lengthening and plants starting to put on new growth. If you have container plants that are doing well, it’s still a good time to add compost, sheer back dead or browning leaves, and generally make things tidy before spring arrives.

I shall be sharing some of my other winter projects with you as I accomplish them. I’d love to hear about your list, too!

Tags containers
4 Comments

Container Media Experiment

April 13, 2018 Elizabeth Boegel
IMG_8662.jpg

One of the classes I'm taking this term is Plant Nutrition. The lab experiments are the highlight of this course; we have five experiments going all at the same time, and each is exploring a different nutrition issue. The first one we began was a study of different homemade container medias, and we completed it yesterday. The findings were interesting and so I thought I'd share them.

In my class we have six lab groups, each with between 3-6 people. My group started out with four of us, but now consists of only three students, and luckily we work well together. One student in my group is an engineer who is hoping to change careers; the other is a professional marijuana grower who hopes to own the first pot plant nursery in the Bay Area. I continue to be delighted by the variety of folks I'm getting to know and learn from!

Before I get too far into this, let's talk about what the average person is looking for in a container media. The "soil" (this is in quotes because most container mixes do not contain any soil at all) needs to be strong enough to hold the plant up, it must have good water holding capacity and yet good drainage, it must have enough pore space to provide the plant with gas exchange in the root zone, and it would be nice if it had a little bit of nutrition, although since plants in pots do not have the usual microbial activity that those in the ground do, it is necessary to feed them regularly in some way. 

Most commercial potting mixes are made of different percentages of peat, vermiculite, perlite, and some sort of organic matter. All are heated to kill pathogens (and this sometimes kills the good stuff too). Many have added mycorrhizae (which is part of another experiment we are doing and is a subject for another time). Some have added synthetic 'slow release fertilizer' which frankly I believe you should stay away from, as many of these are incased in tiny plastic 'pearls' which are causing all kinds of problems in the ocean. Organic matter will provide a slow release of nutrients, and again, you'll be feeding them regularly anyway, so stay away from synthetic stuff.

The seeds we planted (by luck of the draw) were Rainbow Chard. We made two four-inch pots for each media type (just in case one died). All were fed once weekly with fish emulsion. All were watered every day by the greenhouse misters.

We made and tested three different media. #1 was a 'cactus mix,' made of equal parts scoria (volcanic rock), pumice, perlite, and sand.

IMG_8601.jpg

#2 was equal parts compost and fir bark.

#3 was equal parts peat moss, perlite, and sand.

IMG_8604.jpg

Spoiler alert: None of the plants grew well. All of them got a terrible case of aphids. #2 compacted down to half the original size, which makes sense, because it was made up of all fine-pored stuff, which just keeps fitting together more and more with each watering. However #2 also had a first flush of great growth and was an early leader, because there was more nutrition in that media, but quickly succumbed to sodden roots. The one that did worst at the beginning was #1, because it had zero nutrition in the media. but it was also the one that did the best at the end, and that's clearly due to more air around the roots (big macropores).  Water holding was not such a big deal because it was getting misted every day in the greenhouse. But, again, NONE looked like something I'd want to EAT.

For comparison, here is a picture of a chard in another experiment, which was planted at the same time, in the customary potting mix the school uses for all greenhouse uses.

IMG_8633.jpg

This plant has great color, it's standing tall with good vigor and turgidity, it's bright and healthy with no mottling or chlorosis (only the seed leaf, or cotyledon, is looking a little tired, and that's because it's performed it's job), and the media is not compacted at all.

Yesterday, the last day of this particular experiment, we took the plants out of the pots and washed off the roots to see what those roots systems looked like. This was super fun. 

The top two are #1's, the middle two are #2's, and the bottom two are #3's.

The top two are #1's, the middle two are #2's, and the bottom two are #3's.

One thing I didn't know: the roots of the chard have the same color as the chard stems. So if it's a red-stemmed chard, it has red roots! Since I never pull my entire plants up, rather cutting off the leaves and leaving the roots to rot in the ground, I never saw this before!

The roots really completed the story for us. #2 and #3 both had shorter roots by far; they were also weaker, breaking when we touched them, and mushy with rot (too much water holding and not enough air). #1, the cactus mix, had the best roots, longer and very strong. These two also had a clear individual tap root, which developed at the beginning, going searching for nutrition. The weekly feedings helped this plant to do better than the others. 

IMG_8607.jpg

Is the conclusion, then, to use only stones and rocks for potting? I don't think so. After all, you want something with a little nutrition in there. But I would certainly err on the side of MORE pore space than less. We forget, often, how important it is for the roots to have adequate oxygen. And oxygen is key! The only caveat is to make sure you're watering often enough, if you're adding a lot of big-pored items to your potting soil. Another caution - things like vermiculite and perlite (the most available additions which add pore space) will add larger pores to the mix, but do compress and break down over time. There is also some environmental cost to both of these items; research them further if you are concerned about that. Speaking of environmental cost, peat's is ENORMOUS, but it's in nearly every bagged soil, and there's a reason for that - it works great. It's hard to avoid it.

What do I do? I generally don't make my own because I don't use enough to make it worth it. I buy organic brands that have composted organic matter mixed in; you can be sure that from now on I will make sure to check the pore space, and if it needs more, I'll add some chunkier gravel. 

Either way: most potted plants need a weekly feeding. Something organic, with very low nutrient levels, is the way to go. 

Tags learning, containers, soil
2 Comments

Subscribe

Sign up to get email when new blog entries are made.

We respect your privacy. We're only going to use this for blog updates.

Thank you! Please check your email for a confirmation notice to complete the subscription process.

Powered by Squarespace