I mentioned over the weekend that having the herb spiral in the garden is really a boon for my cooking, and today I made two dishes that really highlighted fresh herbs. But first, a project: I made 'Thieves Vinegar." I caught a little bit of a P. Allen Smith program on PBS, where he was visiting a farm that still does things as they would in colonial times. They used this vinegar for cleaning everything - wood included. I thought I'd make some and use it to clean the kitchen and bathroom, and maybe even our wood furniture.
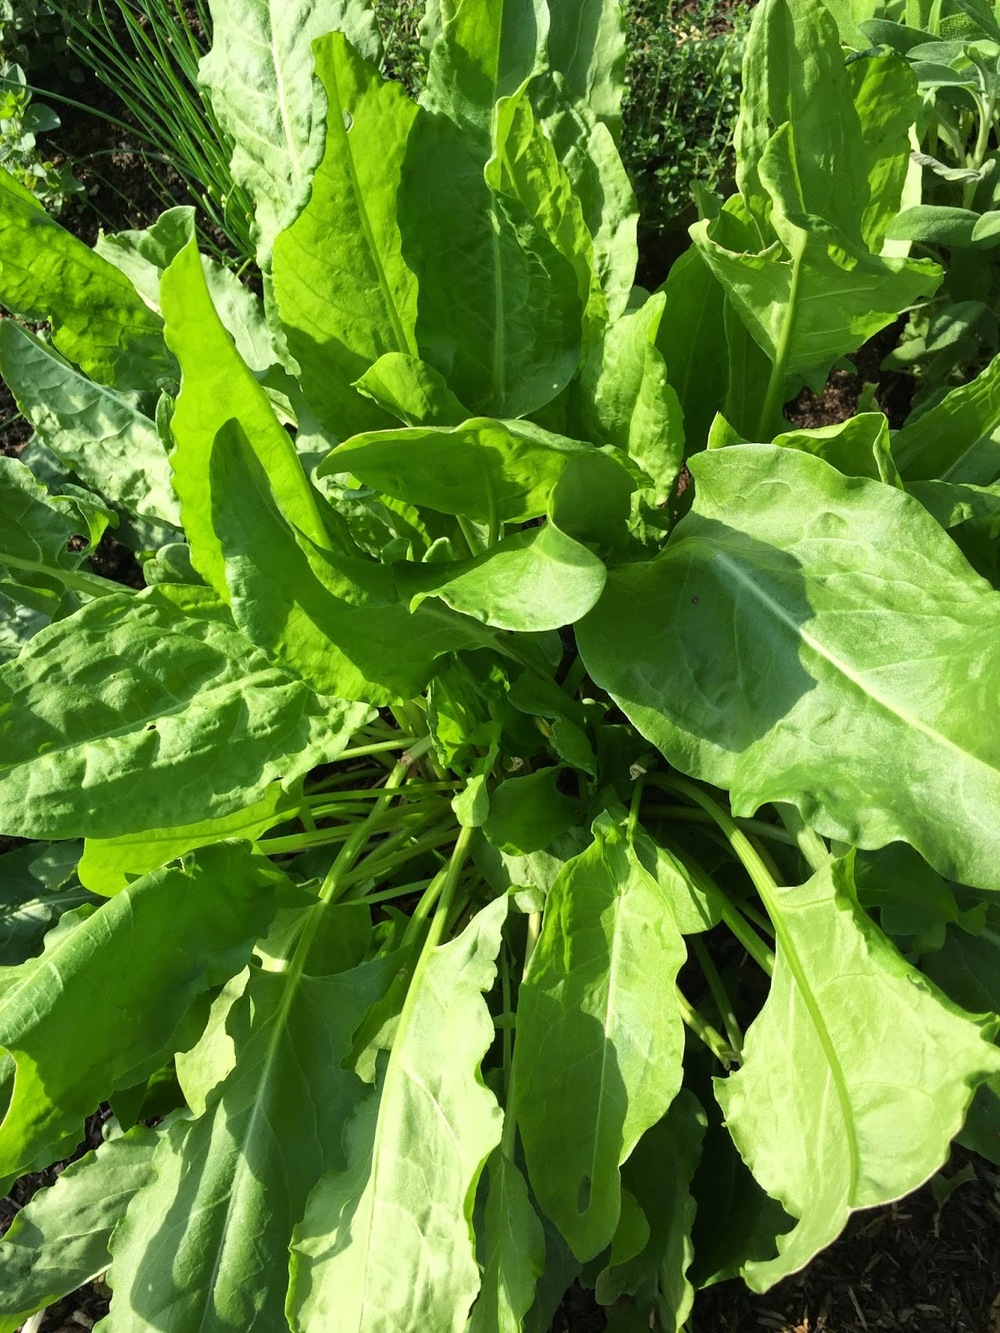
Here's how you make it: Fill a mason jar with any herb that smells good to you. I used lavender, mint, and sorrel - all smell delicious (the sorrel smells of lemon), and all are abundant in my garden.


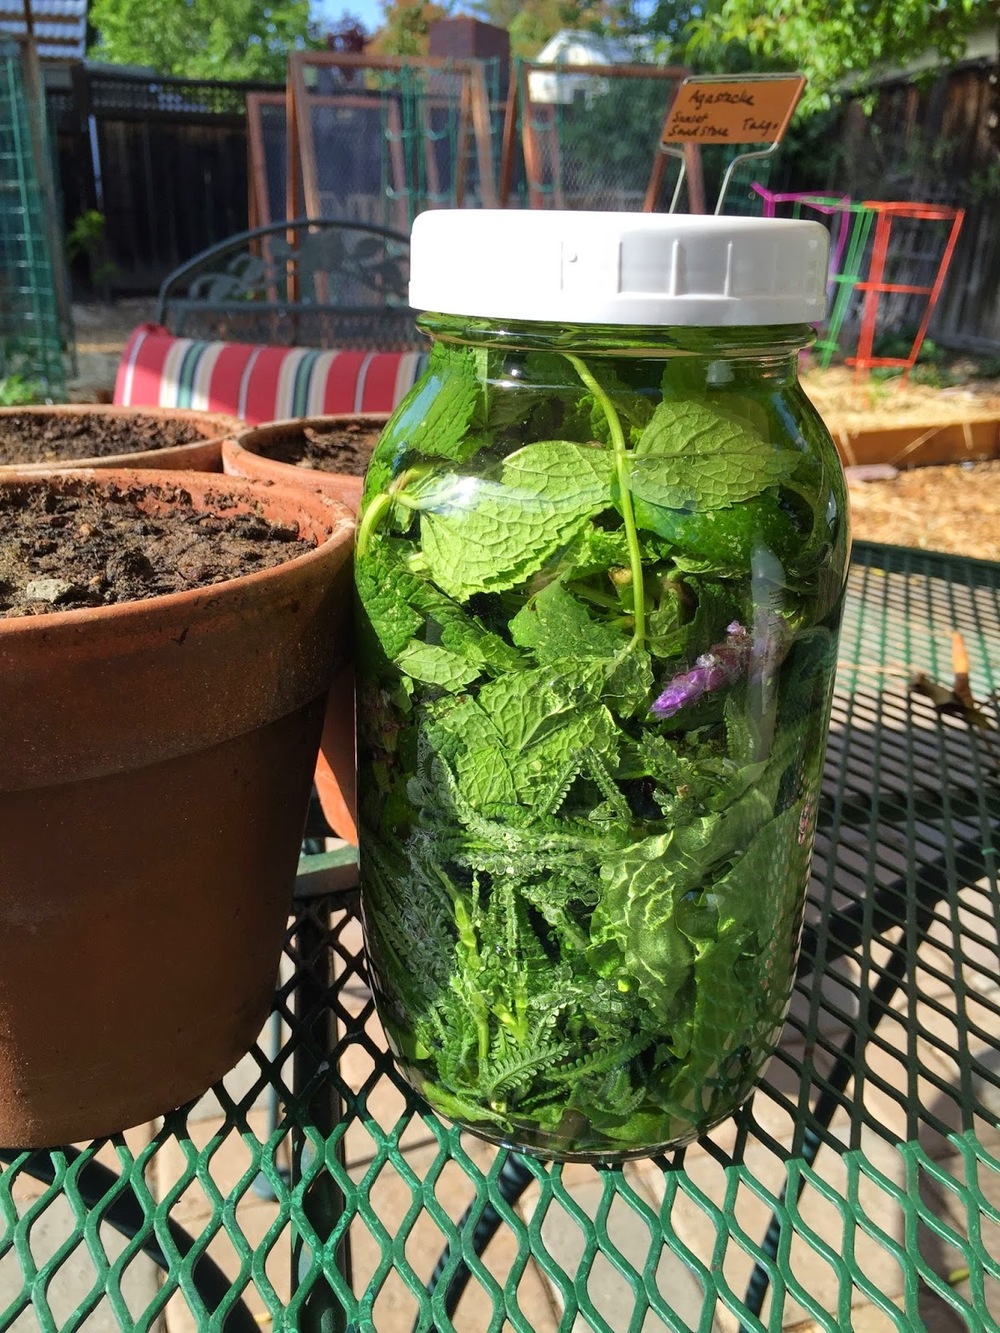
Place the jar in the sun, protected from rain (if you get rain where you live, lucky you.).
In the program, they put it everything in a crock (like you'd use for sauerkraut), put a weight on top, then covered with cloth tied on with twine. But they said in modern days a mason jar is just fine! So that's what I've done.
After two weeks, the mixture should be ready to decant into a spray bottle and used to clean your house! I can't wait to try it, and I'll let you know how it works.
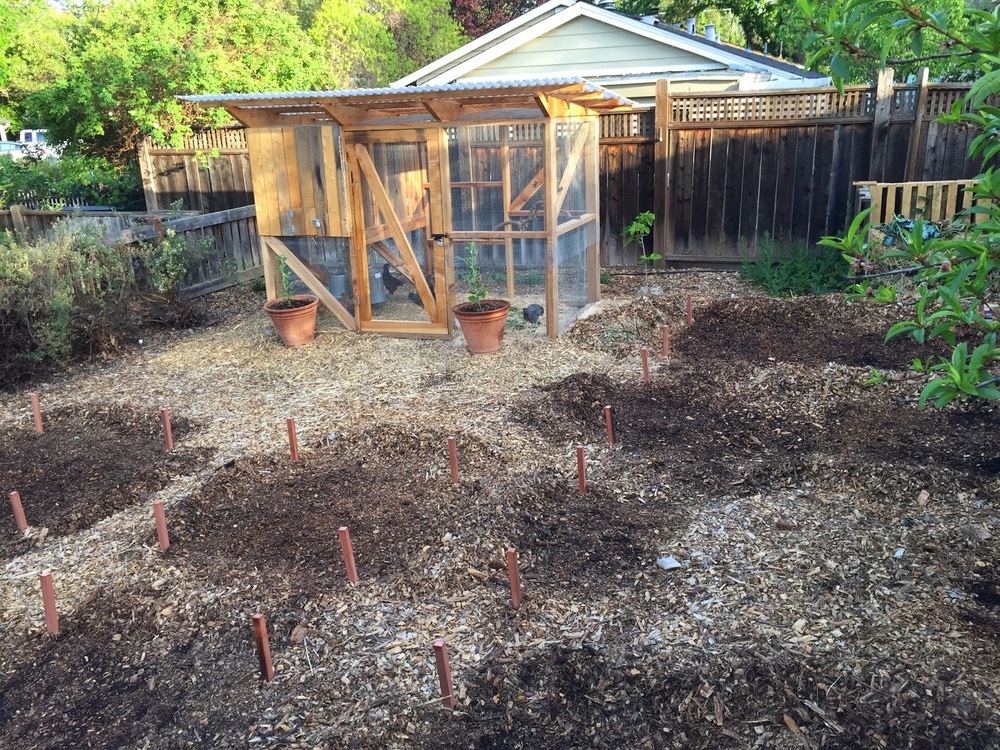
This is a project I could never do without my herb garden, because the cost of buying this quantity of herbs would be quite prohibitive.
For dinner tonight, I used another great quantity of fresh herbs. First, I made fresh foccacia from a recipe I also saw on the same P. Allen Smith show. (I don't usually watch his show, because he doesn't garden like I do - first of all, he's on the East coast so the plant choices don't translate, and also I don't like his style, generally. However this particular episode turned out to be a winner!)
Foccacia
Pour one cup of warm water into a large bowl. Sprinkle one tablespoon of yeast on top of the water. Sprinkle in two tablespoons of sugar and 1/4 cup all-purpose flour. Mix well and let sit five minutes.
Then add 3-1/4 cups all-purpose flour, one teaspoon salt, one tablespoon olive oil, and three tablespoons of chopped fresh herbs. I used rosemary, sage, thyme, and marjoram. Mix thoroughly and knead for five minutes on a floured board. Put back in the bowl, cover with two teaspoons of olive oil, and a moist cloth. Let rise in a warm place for 45 minutes.

(A quick aside: I've never kneaded anything by hand - I've always used the bread attachment on my Kitchen Aid mixer. Kneading this by hand was actually a great thing to do. Five minutes isn't that long, but you start to realize how strong women used to be, and how they had to do this nearly every day, and often for longer than five minutes. You begin to feel pretty badass. Try it and see!)
Scatter two tablespoons of cornmeal on the bottom of a baking pan. (I used a rectangular pan that I often use for brownies.) Press dough into the pan, stretching it out into a rough rectangle. Sprinkle on sea salt and freshly ground pepper. Bake at 450 for 15-20 minutes. It smells heavenly while it's baking and looks lovely when done.
I served this with a mix of chopped tomatoes (not in season, from Mexico, horrors!), fresh mozzarella, a little basil (also not in season!), salt, pepper, and olive oil.
To go with it, I found a recipe for herbed pork tenderloin from The Kitchn. Basically you make a sort of pesto to rub on the pork.
Grilled Herbed Pork Tenderloin
In a food processor, combine 1/2 cup fine cornmeal, five minced cloves of garlic, one cup of minced parsley, five minced springs of thyme, two minced sprigs of rosemary, and 1/4 cup minced sage. Pulse till mixed.

While food processor is running, add two tablespoons of olive oil. Rub this paste over two pork tenderloins, which you've already salted and peppered. Grill.


We enjoyed these dishes! The bread was soft and savory and delicious with the tomato mixture; pork tenderloin is generally not my favorite cut of meat, but I simply loved this preparation - the cornmeal/herb mixture gave the meat a lovely crust, and it was so yummy. The best part is that there are leftovers for lunch tomorrow! I will definitely make both these dishes again.
Now for the interesting bee experience. This morning I was headed out to the garden early to pick kale, and I noticed a scrub jay by the hive. As I approached, he flew to the top of the train shed, and in his beak was a dead bee! He must have picked it up from the bee graveyard at the foot of the hive. I didn't know jays would eat dead bees! That was pretty neat.
I opened the hive again today to check the comb. The good news is that the bees are making comb very quickly. The bad news is that I had to remove more skewed comb. I was so frustrated with this that I moved bars around, hoping that they'll build on the ones I moved to the front of the hive now and leave the others for later. I imagine the queen is laying brood on the very first bar, which is beautifully straight, but she'll need to lay on all the other bars as well, and I don't want to have to remove comb that has eggs or larvae in it. As it is, I feel terrible, because it's full of nectar and pollen that the bees have painstakingly collected.
Finally, the Urban Farm Tour tickets are on sale! We very much hope to see you at our farm, June 6. Here are all the relevant links:
Here's how you make it: Fill a mason jar with any herb that smells good to you. I used lavender, mint, and sorrel - all smell delicious (the sorrel smells of lemon), and all are abundant in my garden.
Really pack the herbs in the jar.
Then, add distilled white vinegar. On the program they said they prefer this kind of vinegar but that you can use apple cider vinegar as well. Fill the jar to the top, completely covering the herbs, and screw on the cap tightly.
In the program, they put it everything in a crock (like you'd use for sauerkraut), put a weight on top, then covered with cloth tied on with twine. But they said in modern days a mason jar is just fine! So that's what I've done.
After two weeks, the mixture should be ready to decant into a spray bottle and used to clean your house! I can't wait to try it, and I'll let you know how it works.
This is a project I could never do without my herb garden, because the cost of buying this quantity of herbs would be quite prohibitive.
For dinner tonight, I used another great quantity of fresh herbs. First, I made fresh foccacia from a recipe I also saw on the same P. Allen Smith show. (I don't usually watch his show, because he doesn't garden like I do - first of all, he's on the East coast so the plant choices don't translate, and also I don't like his style, generally. However this particular episode turned out to be a winner!)
Foccacia
Pour one cup of warm water into a large bowl. Sprinkle one tablespoon of yeast on top of the water. Sprinkle in two tablespoons of sugar and 1/4 cup all-purpose flour. Mix well and let sit five minutes.
Then add 3-1/4 cups all-purpose flour, one teaspoon salt, one tablespoon olive oil, and three tablespoons of chopped fresh herbs. I used rosemary, sage, thyme, and marjoram. Mix thoroughly and knead for five minutes on a floured board. Put back in the bowl, cover with two teaspoons of olive oil, and a moist cloth. Let rise in a warm place for 45 minutes.
(A quick aside: I've never kneaded anything by hand - I've always used the bread attachment on my Kitchen Aid mixer. Kneading this by hand was actually a great thing to do. Five minutes isn't that long, but you start to realize how strong women used to be, and how they had to do this nearly every day, and often for longer than five minutes. You begin to feel pretty badass. Try it and see!)
Scatter two tablespoons of cornmeal on the bottom of a baking pan. (I used a rectangular pan that I often use for brownies.) Press dough into the pan, stretching it out into a rough rectangle. Sprinkle on sea salt and freshly ground pepper. Bake at 450 for 15-20 minutes. It smells heavenly while it's baking and looks lovely when done.
I served this with a mix of chopped tomatoes (not in season, from Mexico, horrors!), fresh mozzarella, a little basil (also not in season!), salt, pepper, and olive oil.
To go with it, I found a recipe for herbed pork tenderloin from The Kitchn. Basically you make a sort of pesto to rub on the pork.
Grilled Herbed Pork Tenderloin
In a food processor, combine 1/2 cup fine cornmeal, five minced cloves of garlic, one cup of minced parsley, five minced springs of thyme, two minced sprigs of rosemary, and 1/4 cup minced sage. Pulse till mixed.
While food processor is running, add two tablespoons of olive oil. Rub this paste over two pork tenderloins, which you've already salted and peppered. Grill.
We enjoyed these dishes! The bread was soft and savory and delicious with the tomato mixture; pork tenderloin is generally not my favorite cut of meat, but I simply loved this preparation - the cornmeal/herb mixture gave the meat a lovely crust, and it was so yummy. The best part is that there are leftovers for lunch tomorrow! I will definitely make both these dishes again.
Now for the interesting bee experience. This morning I was headed out to the garden early to pick kale, and I noticed a scrub jay by the hive. As I approached, he flew to the top of the train shed, and in his beak was a dead bee! He must have picked it up from the bee graveyard at the foot of the hive. I didn't know jays would eat dead bees! That was pretty neat.
I opened the hive again today to check the comb. The good news is that the bees are making comb very quickly. The bad news is that I had to remove more skewed comb. I was so frustrated with this that I moved bars around, hoping that they'll build on the ones I moved to the front of the hive now and leave the others for later. I imagine the queen is laying brood on the very first bar, which is beautifully straight, but she'll need to lay on all the other bars as well, and I don't want to have to remove comb that has eggs or larvae in it. As it is, I feel terrible, because it's full of nectar and pollen that the bees have painstakingly collected.
Finally, the Urban Farm Tour tickets are on sale! We very much hope to see you at our farm, June 6. Here are all the relevant links:
LINKS
All farm tour details here: http://www.iuhoakland.com/events.html#farmtour
List of Sites http://www.iuhoakland.com/uft2015wc.pdf
Ticket Link:http://www.brownpapertickets.com/event/1475038